Trail Camera Experiment
It all begins with a bit of inspiration, and this idea of mine may prove to be more of a headache than I first thought.
I currently have four Trail cameras that I set in different places to capture Badgers, Hares, Foxes, Deer, Muntjack, Squirrels and just about anything that triggers them. I have been using them on and off for the last two years and with some great results, the only downside to this is each camera takes 8xAA batteries, I use rechargeables but even now they are starting to lag, I also don’t think I am helped by the fact that these cameras are entry level and from memory cost me around £30-40 each, the photo and film resolution could be improved dramatically and this is where I’ve got to.
Current trail camera results
Scouring the interweb for different ideas and influences I came across a website from a chap in Thailand who was photographing Elephants, Leopards and Tigers and his results were phenomenal, it is essentially a DIY Trail camera but using much higher tech equipment, this is where is starts to get interesting, so far I have purchased the following:
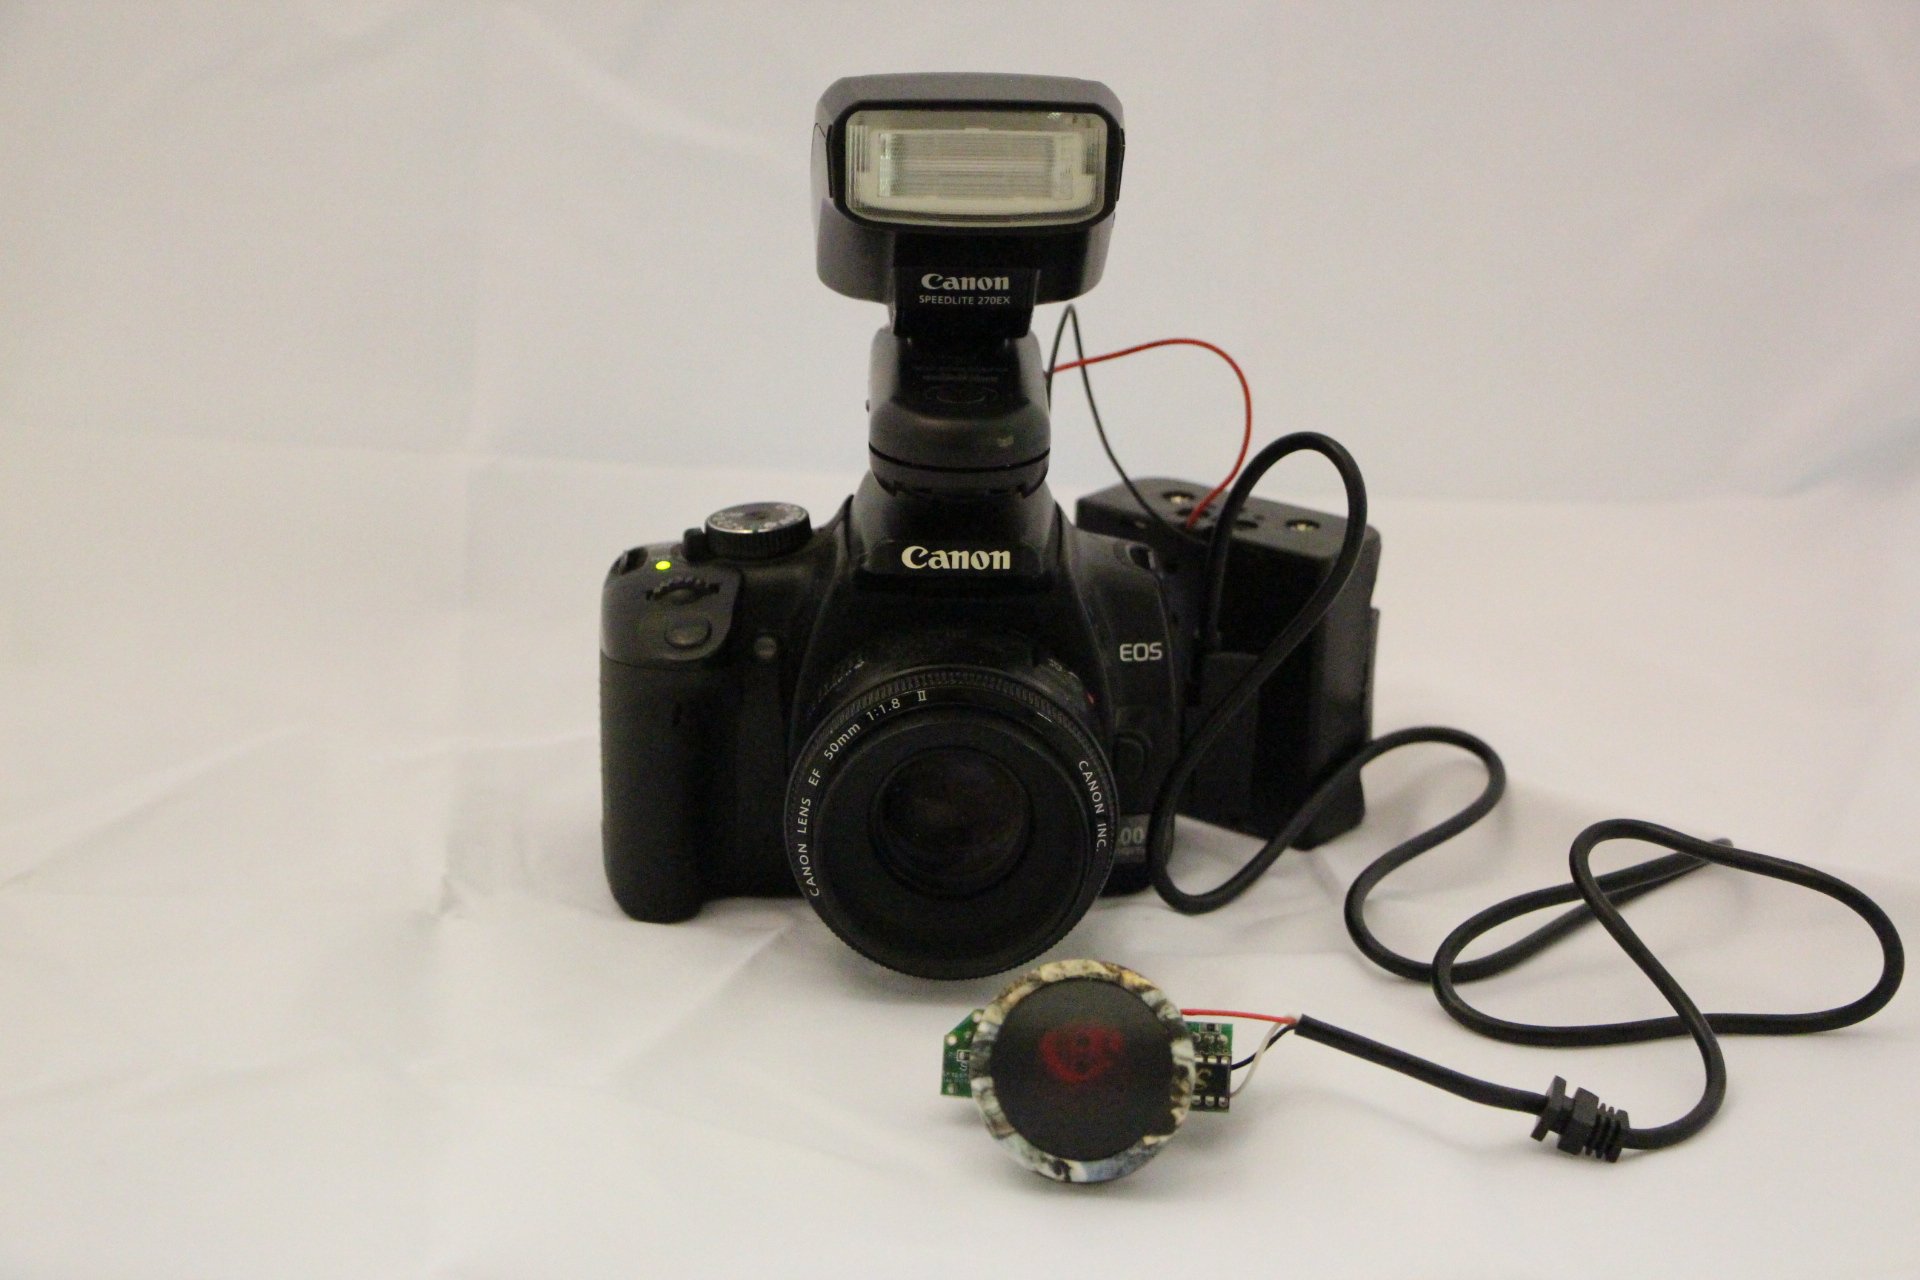
Canon 400D Rebel XTi body
Canon 50mm Fixed lens 50mm F1.8
Canon 270ex Flash
Yonguo 603c Flash Triggers
Canon Shutter Release
Snap shot sniper (PIR)
D cell battery holders
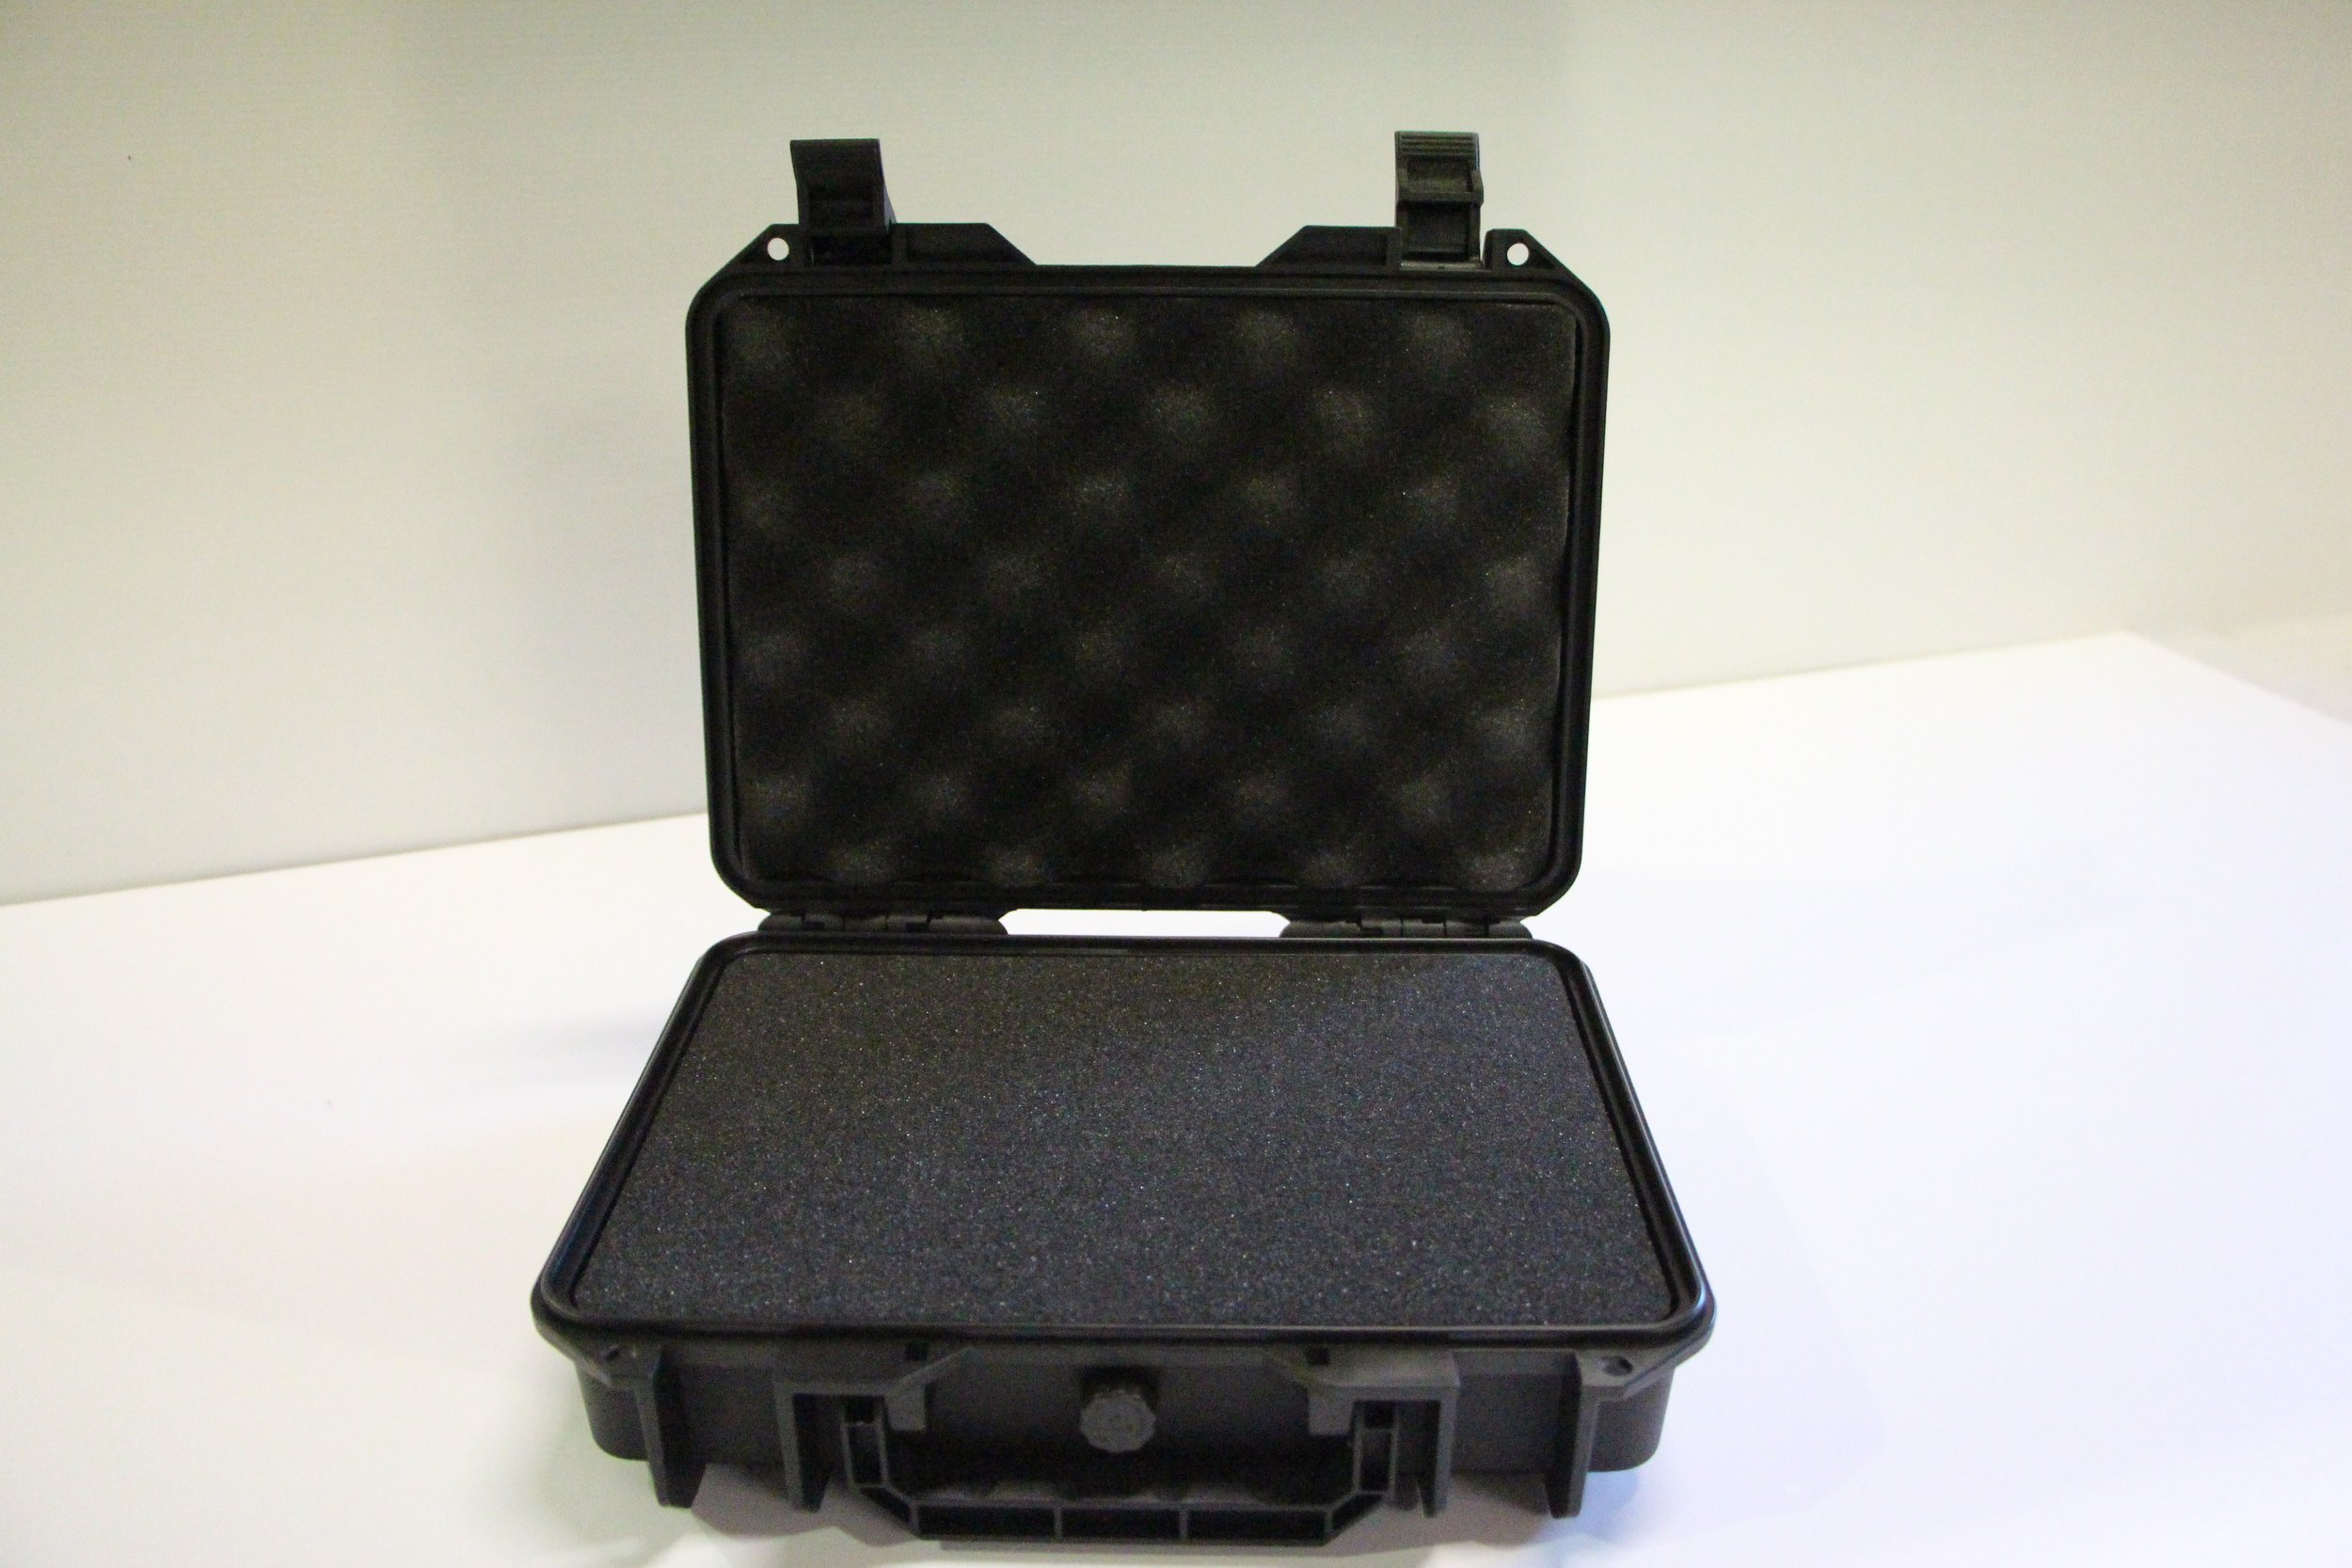
Peli Case 1400, (that I substituted for a smaller case)
Sourcing the above has cost around £300, I’ve started to build this and work out how I want it set up and my only real concern is the size of the box, its not huge at approx 30cms high by 25cms wide and around the same in depth, what concerns me is it being seen compared to the handheld trail cameras I have been using, that coupled with a flash triggering at night could attract some unwanted attention, I am fairly confident that where I have been placing the cameras over the past two years sees very little human activity, and it being camouflaged should help, we will have to see!


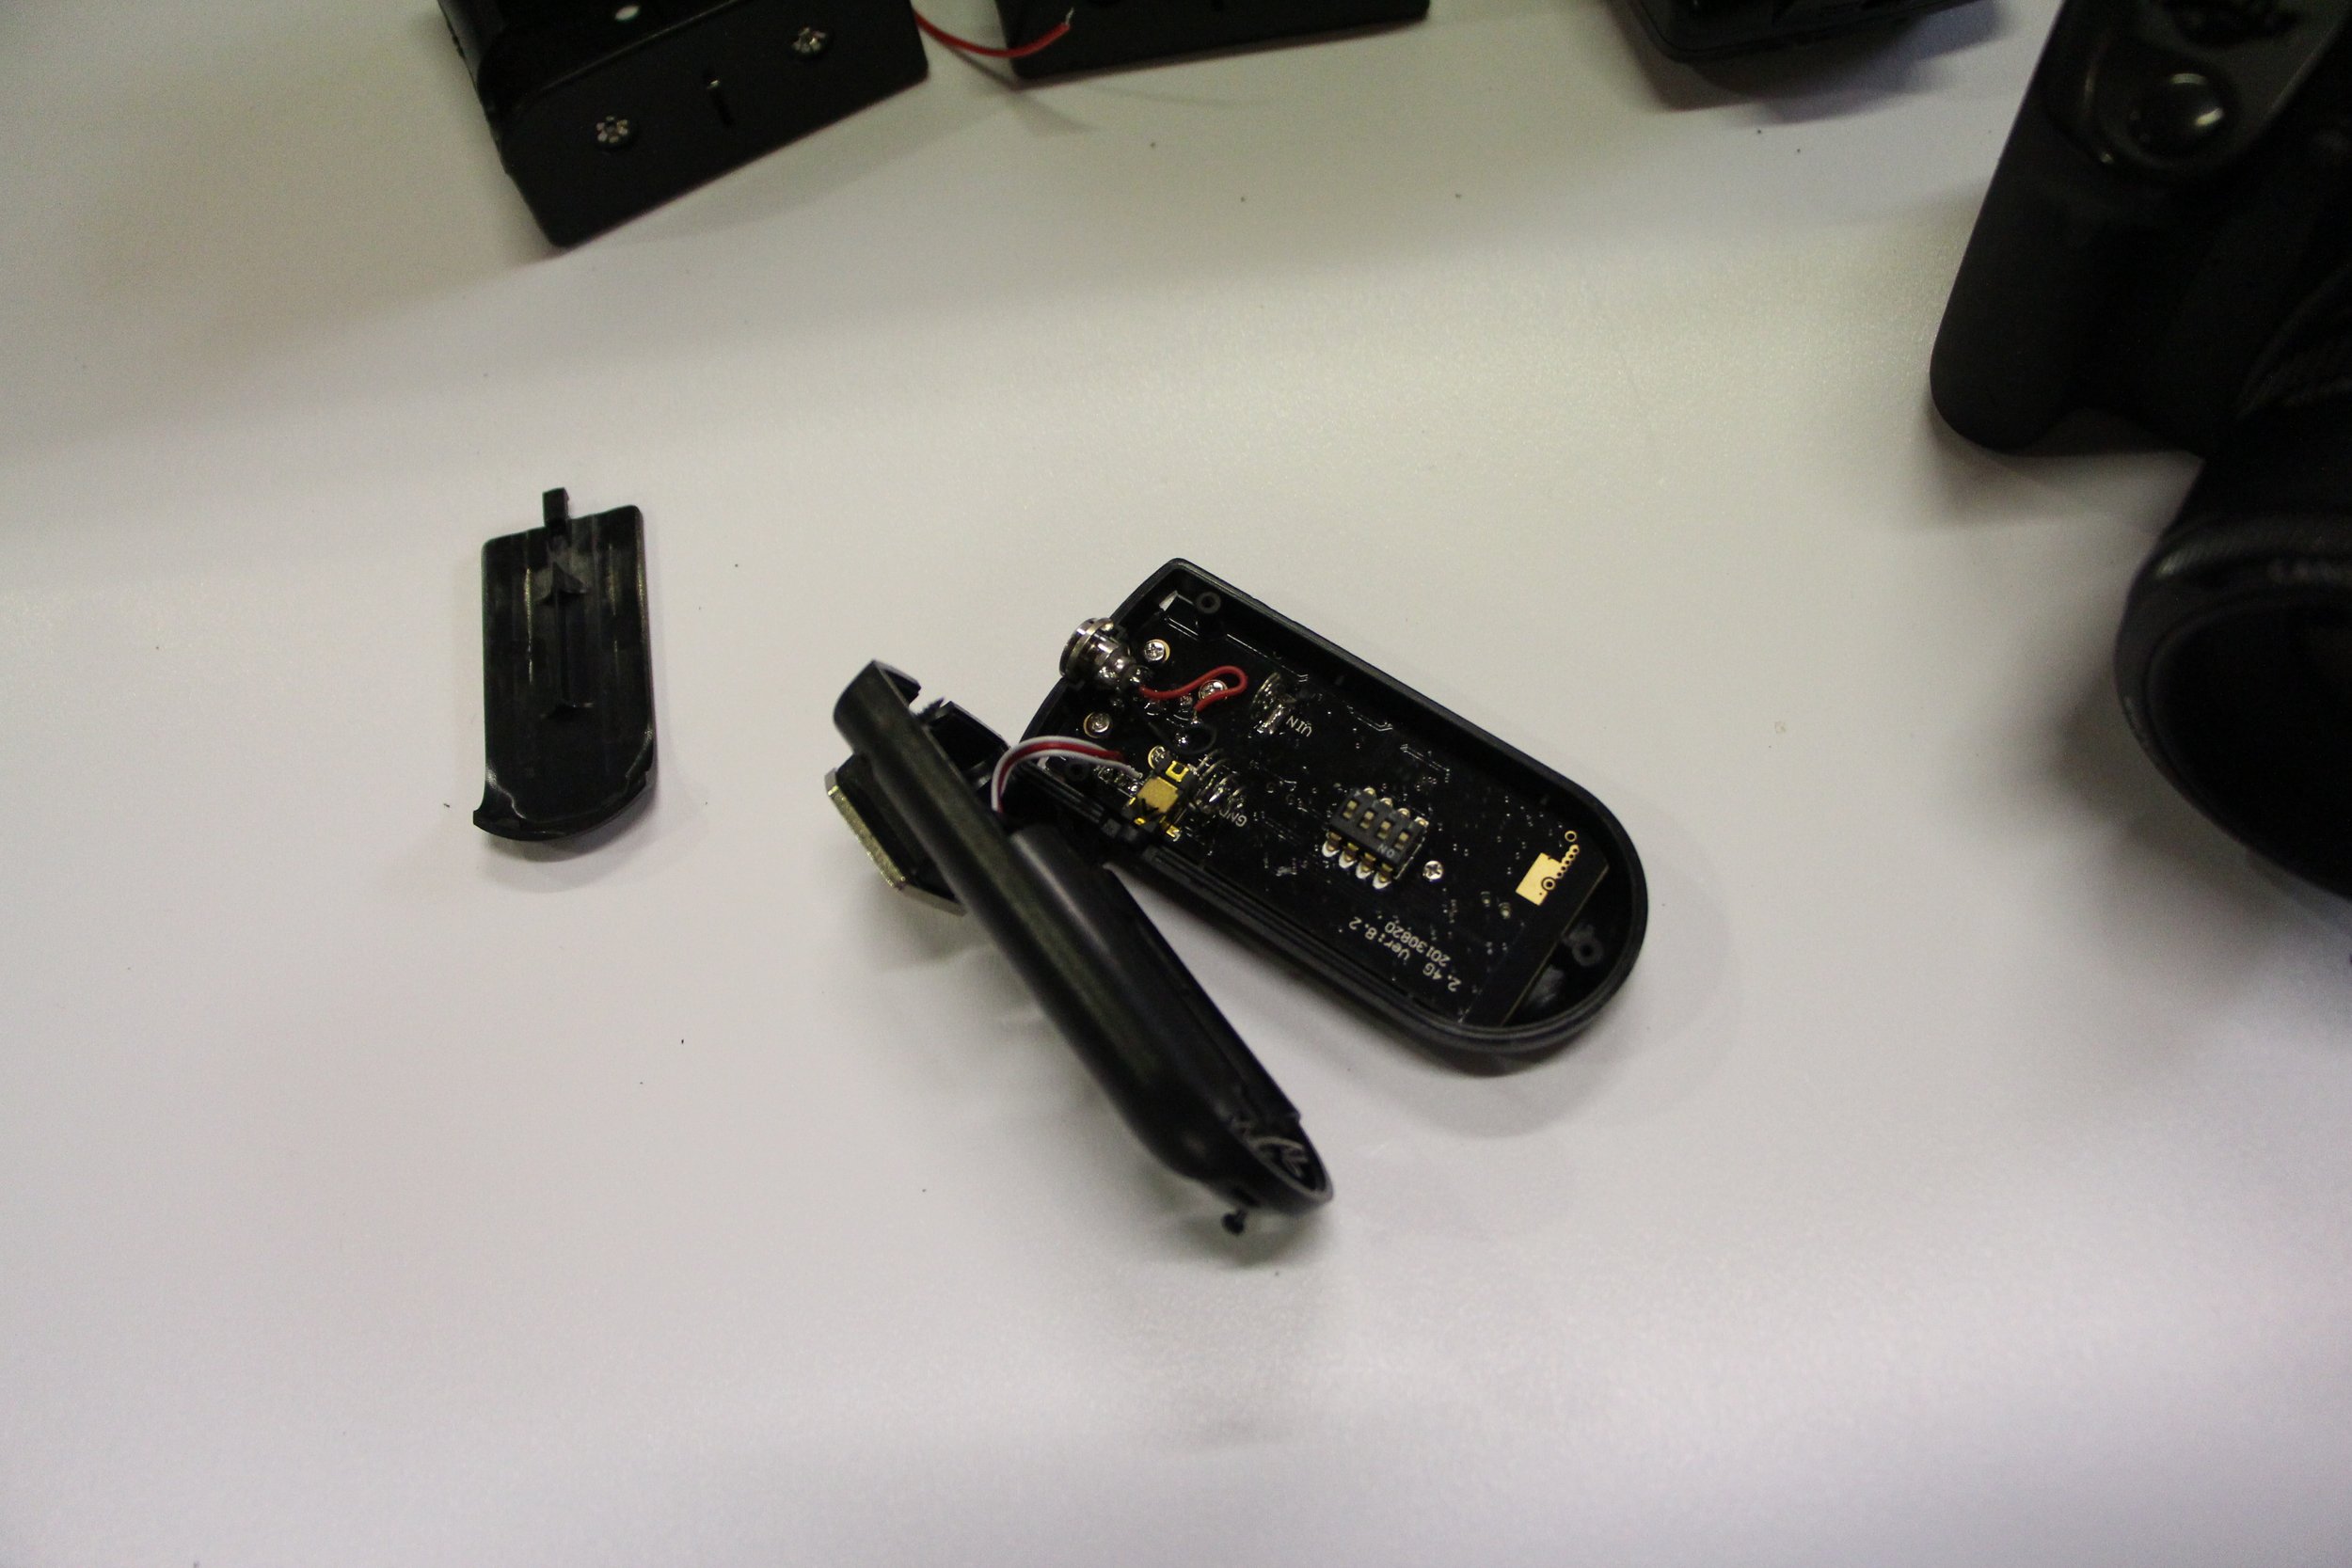

The soldering of the snapshot sniper was a little more tricky than expected and it had to be faffed with a few times to get it to work properly, the wireless trigger had to be dismantled and the D cell battery carrier connected to the ground and live and this will supply ample power to the flash trigger for the flash. Once the snapshot sniper is set to trail it flashes and sets itself, once set and the PIR sensitivity adjusted it trips perfectly, the camera is set to continuous and it will auto focus on the subject.


The case has been sprayed camouflage and dressed in leaves to hide it as best as possible, I have tested the trigger and the sensitivity and the camera is working reliably enough to be placed in the woods properly. Rather than strap the box to a tree like I normally would, I have staked the box, so it can be put into the ground and it wont be able to be moved, badgers and deer don’t seem scared of the camera and are often inquisitive which can result in the cameras slipping or moving.
Aesthetically I will concede I have butchered the front of the case, however the functionality is the key! I originally intended on having the PIR sensor central but to get everything to fit nicely it had to be moved to the side, so some araldite and foamex sorted that little mess! The snorkel is a spray bottle cut in two and again stuck to the case, I have seen others put a glass/plastic cover on the snorkel but I have a feeling it could get condensation so will leave it open to the elements, there should be enough cover for the lens without the concern of water ingression. The only thing that will need to be sorted prior to the camera being left after being switched on and set will be using plasticine to go around the flash to make sure no water goes into the case at all!
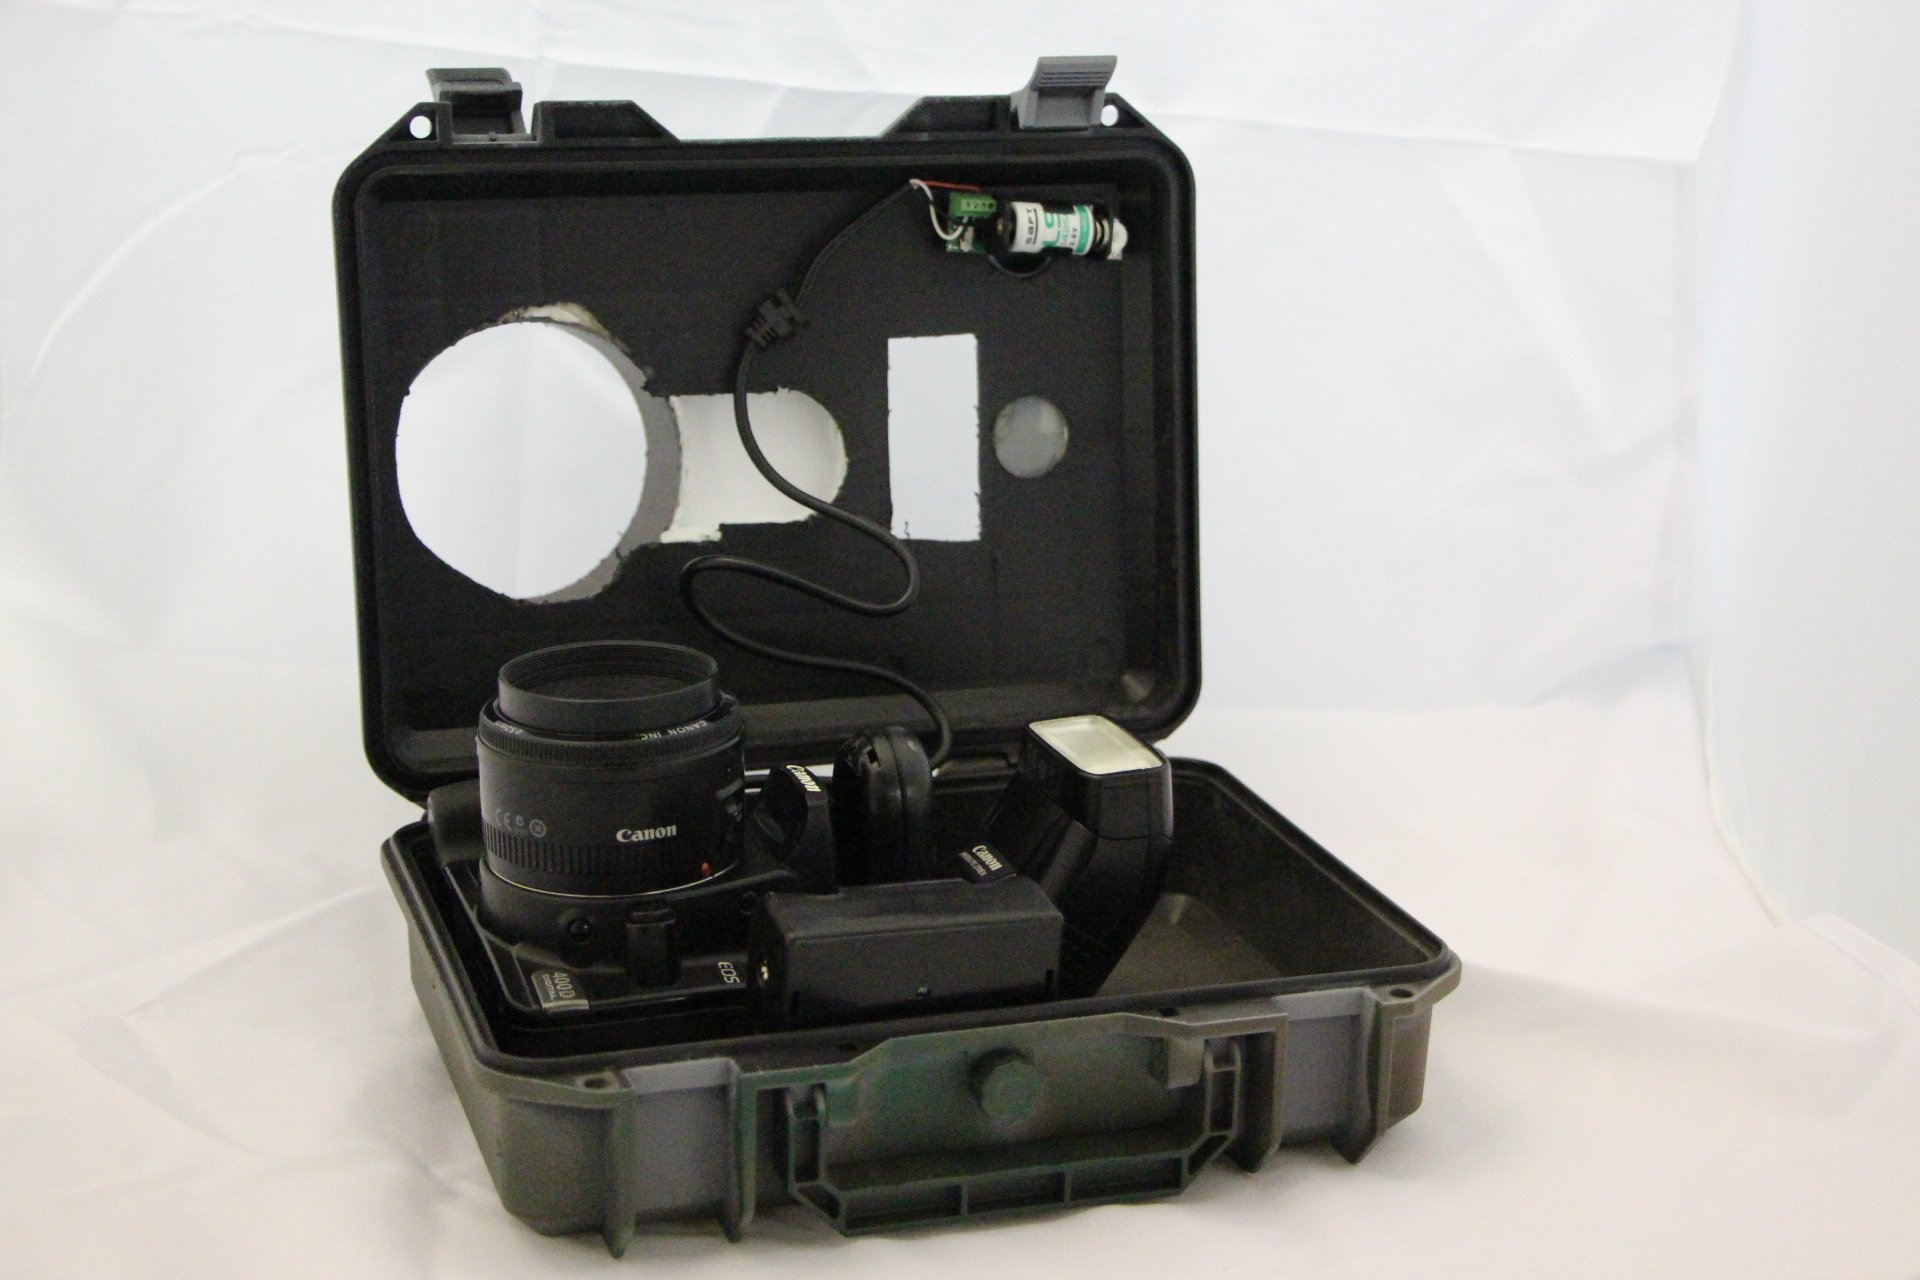
Testing the Camera in the office prior to putting out in the wild
Now to put the camera to the real test!, keep an eye on the Diary to see my results.