Canadian Canoe Restoration
Laying in bed one evening scouring ebay I came across an old beat up Canadian Canoe, I had been tentatively looking for one as a family wagon to use on the Stour as my current Kayak is really only for one person, although eldest fits in my kayak she is fast outgrowing it. The only issue was collecting it and it is a heavy old lump at 16ft in length despite being a fibreglass body. So off I went to sunny Slough to get it and for a snip at £60.00, it was sold as seen and described as water tight so I was happy enough.
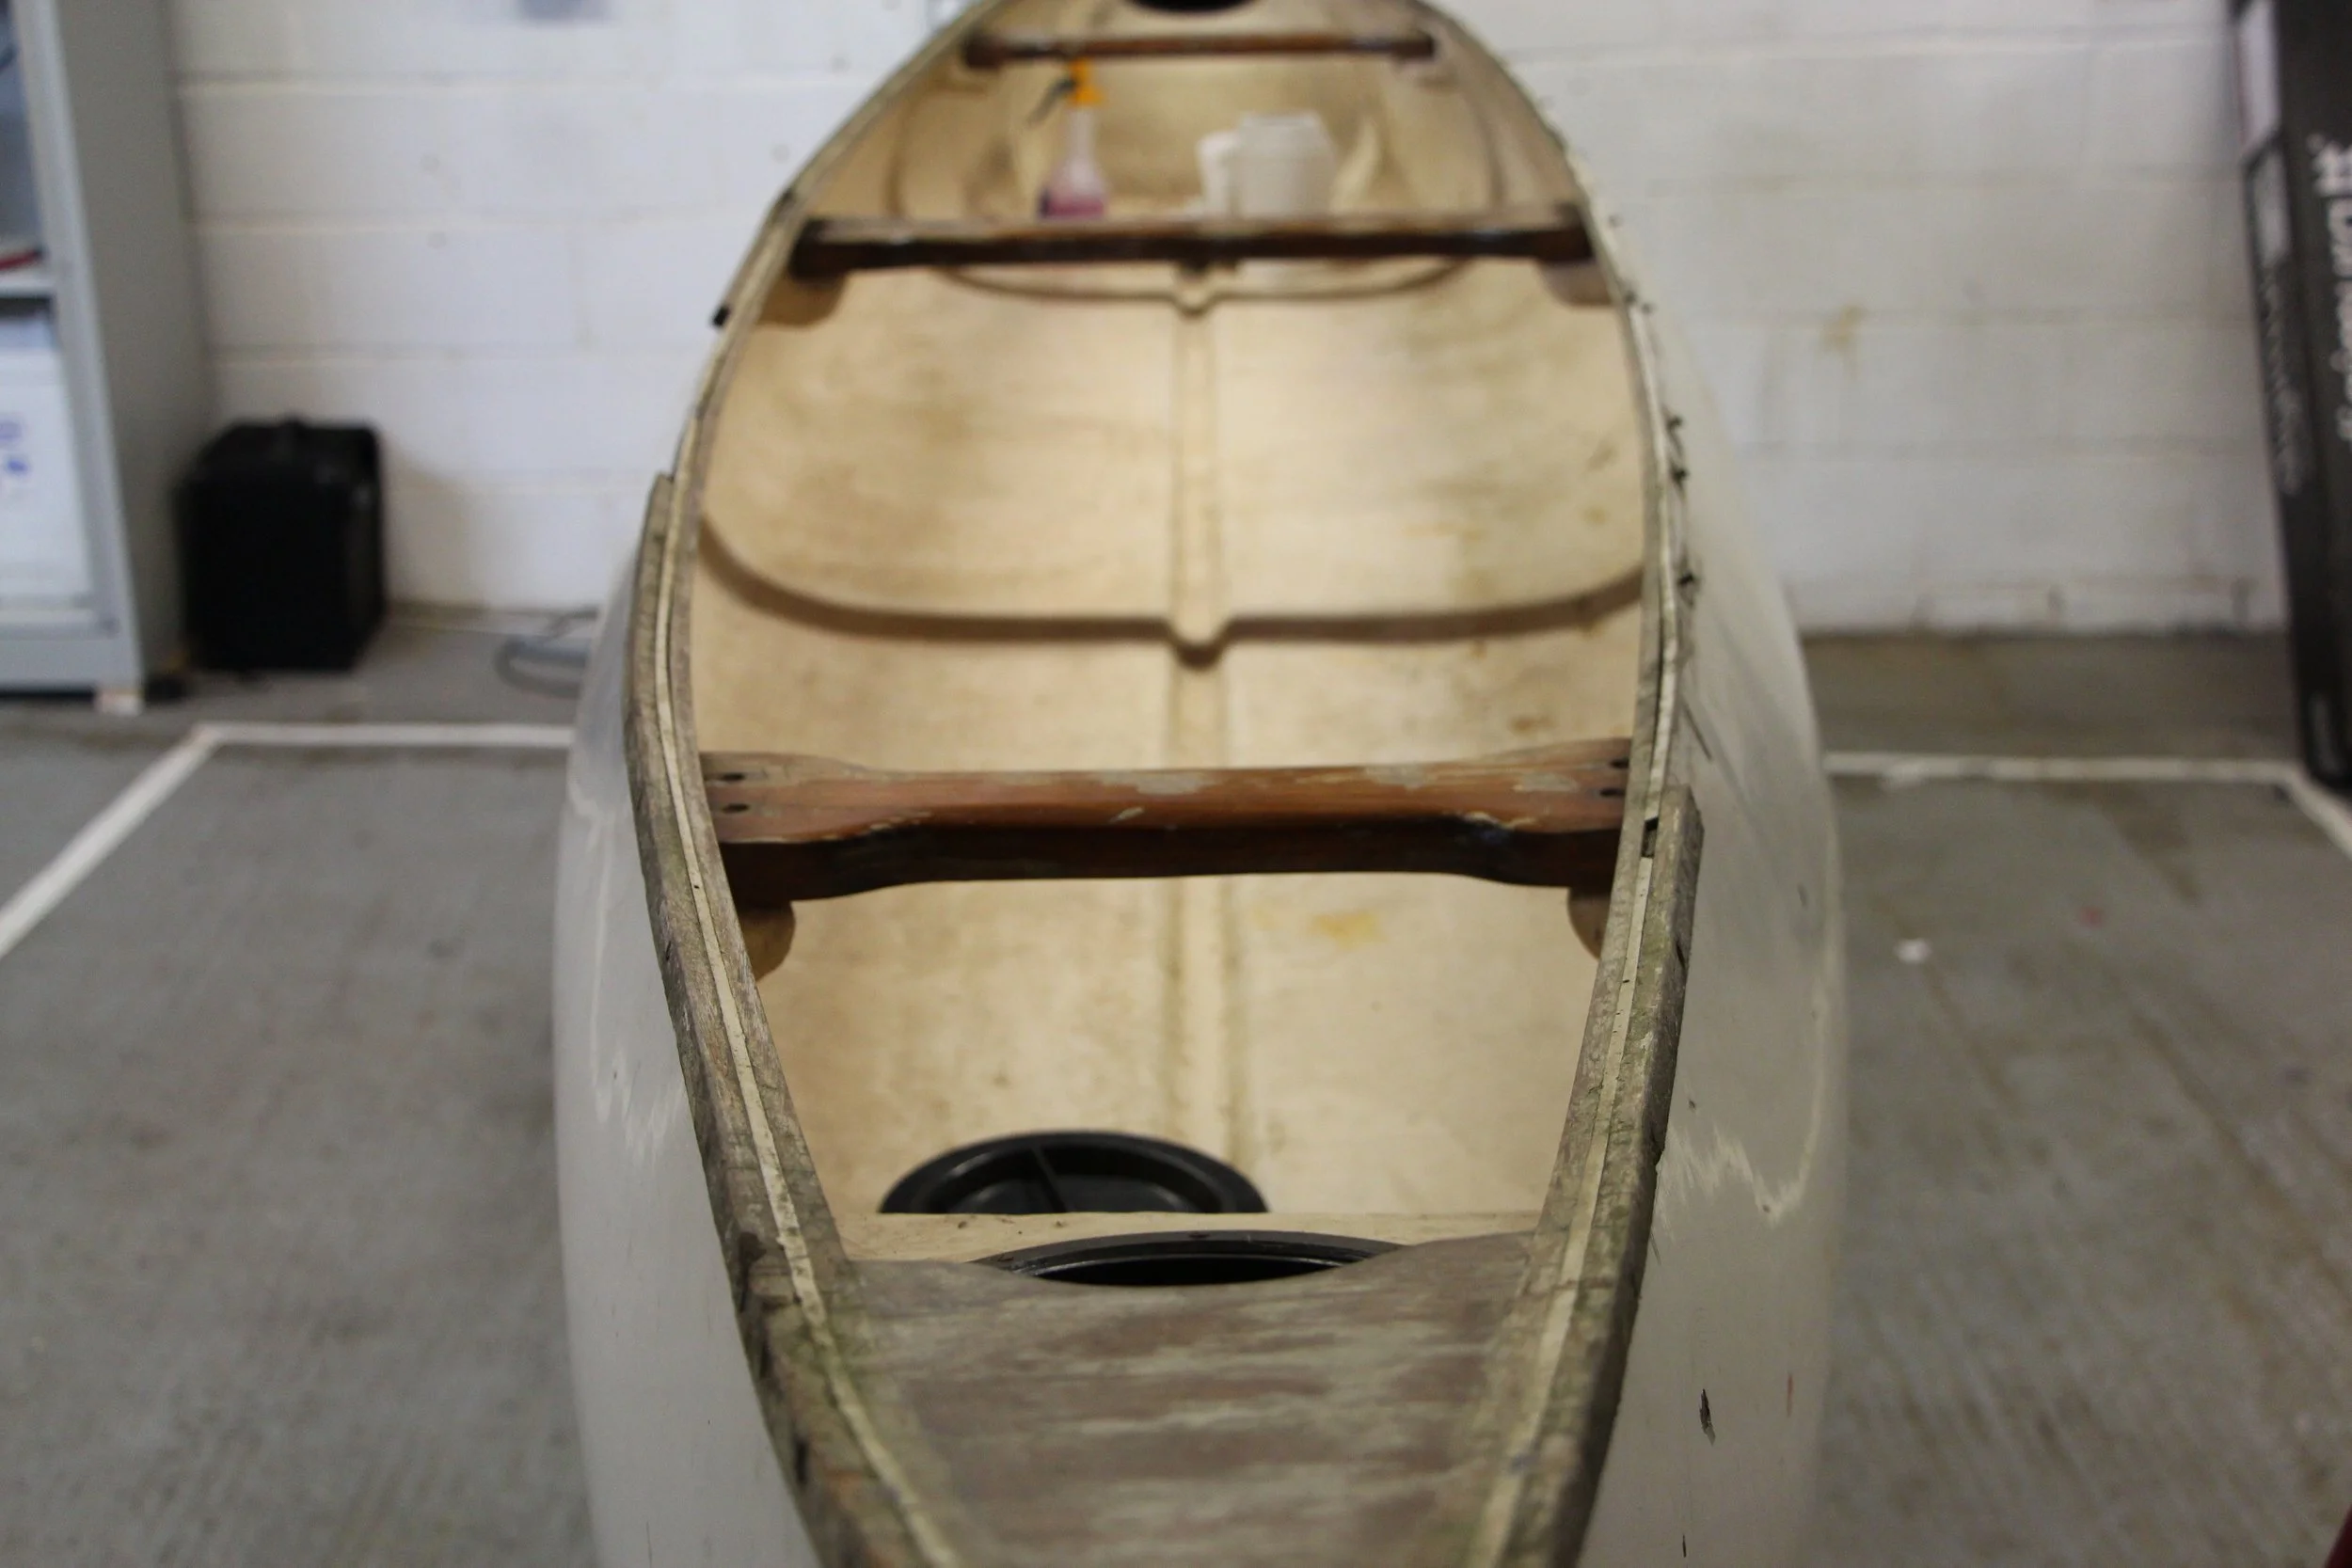
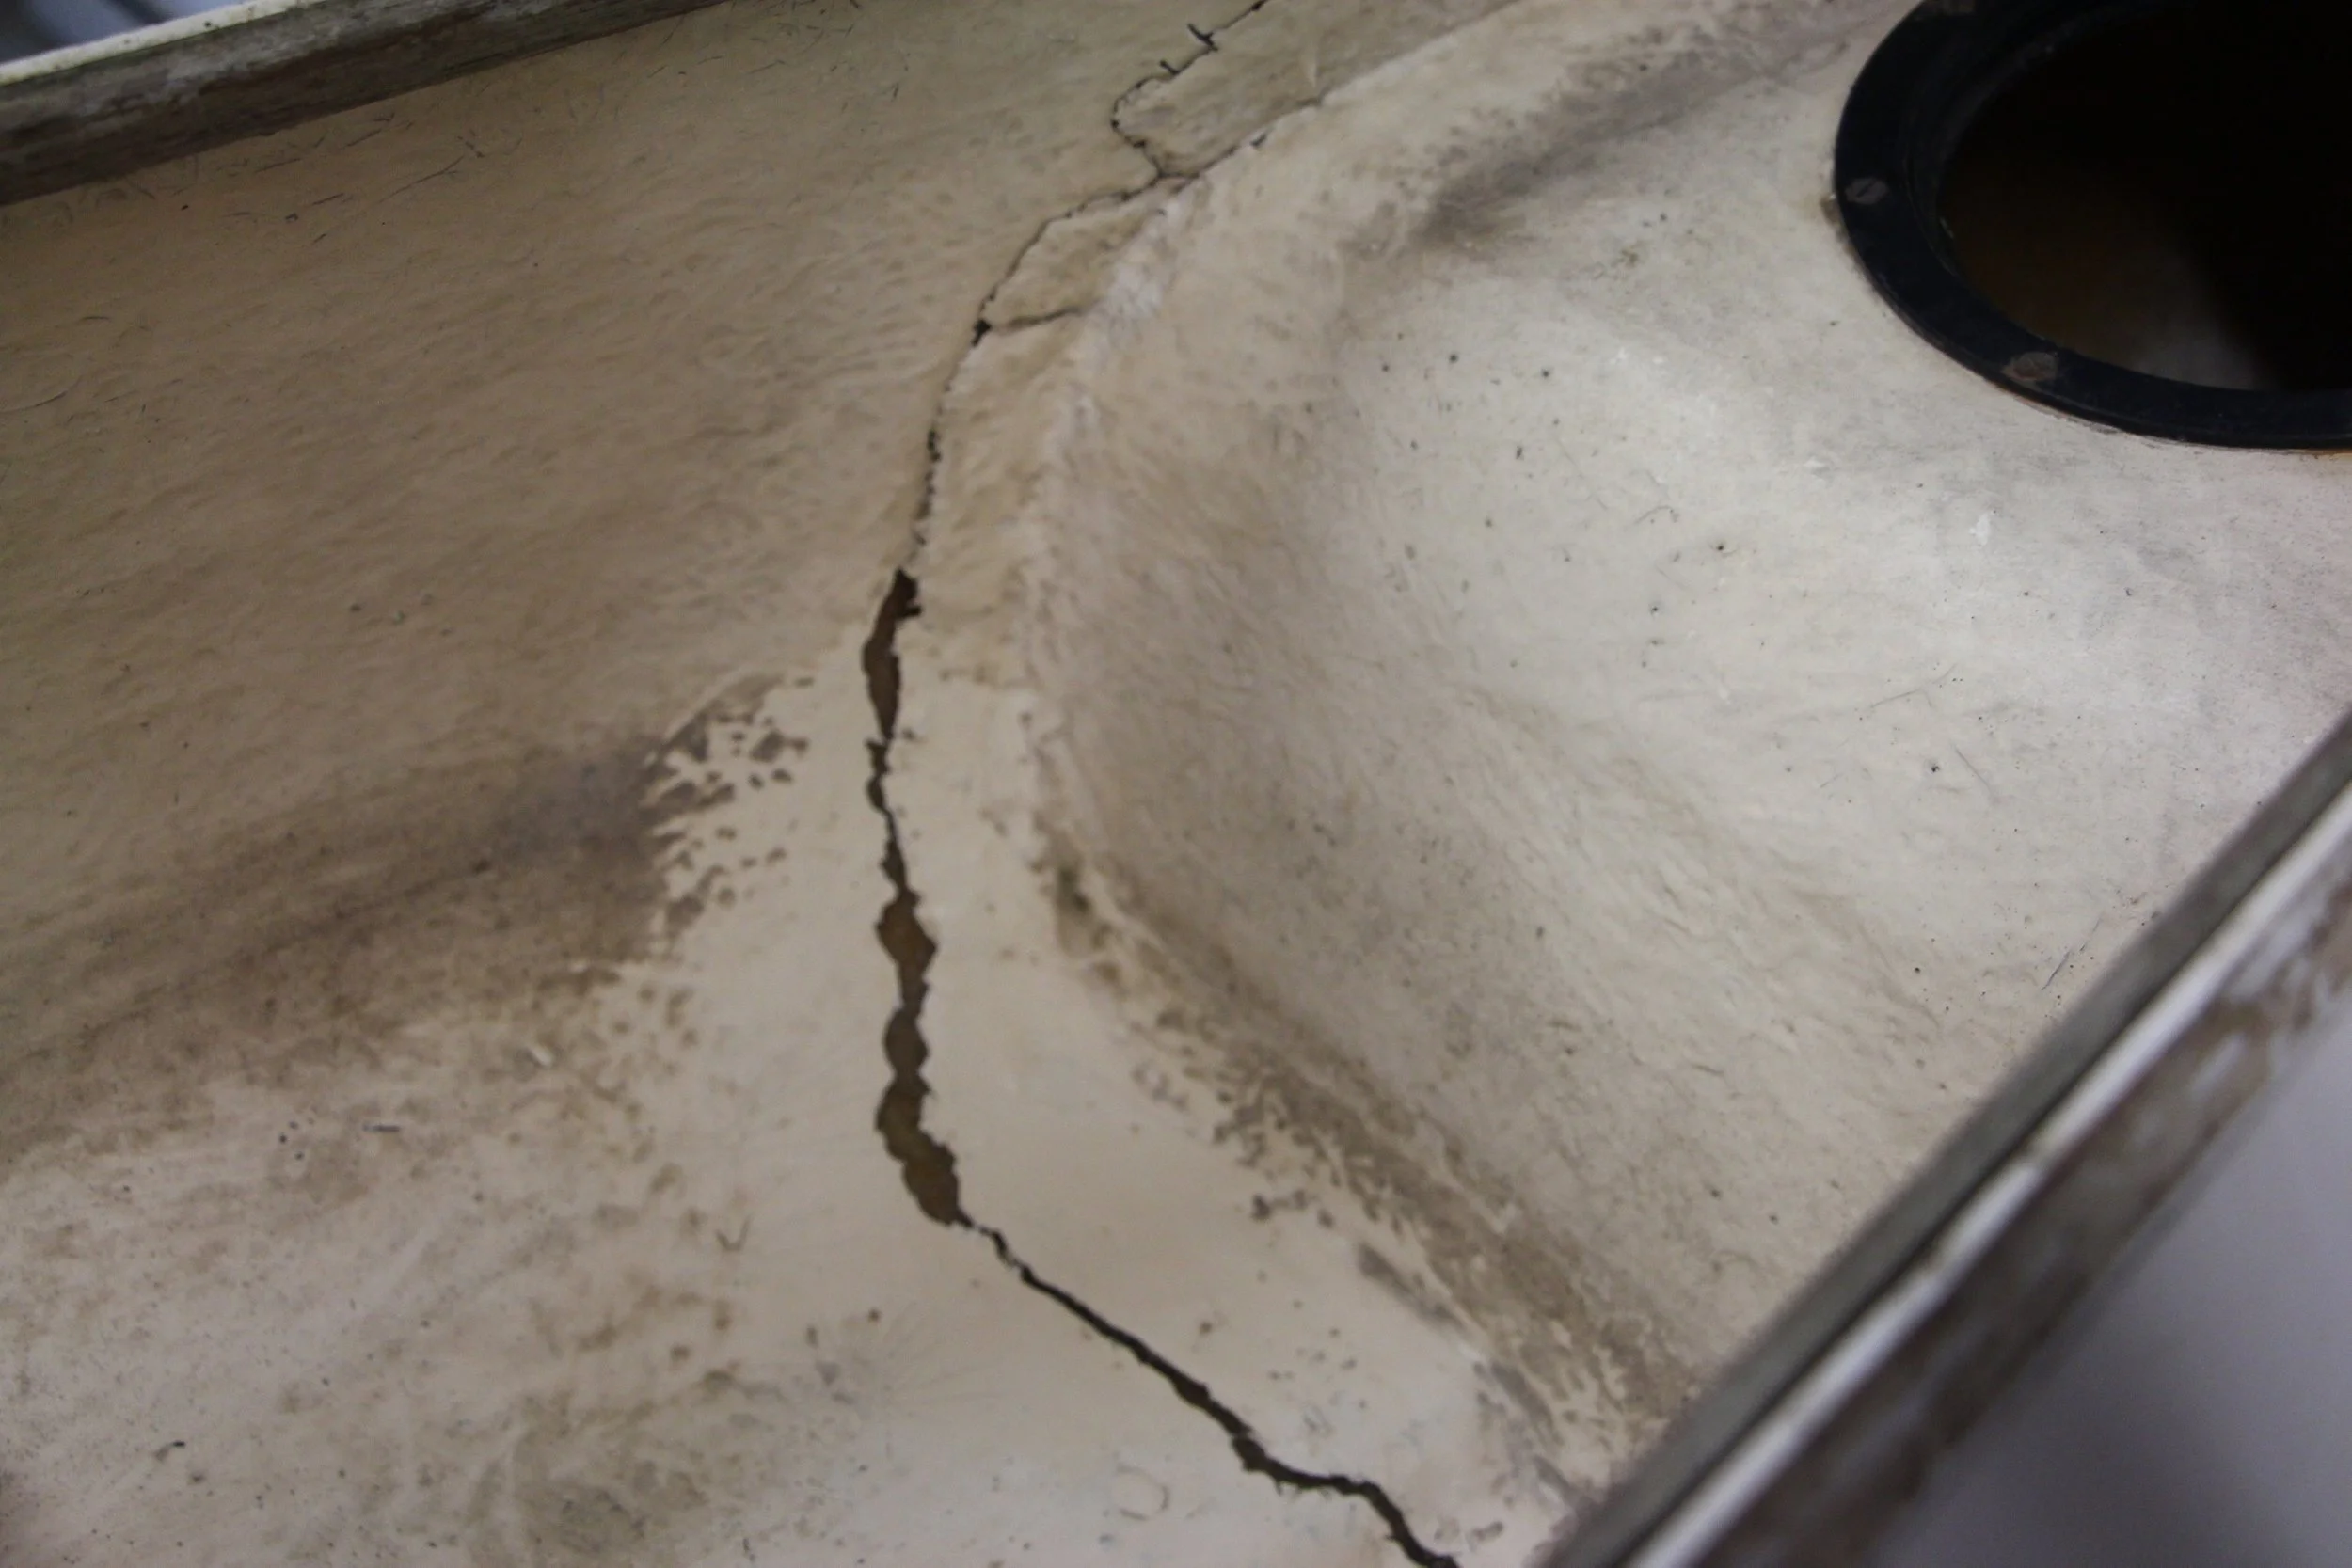
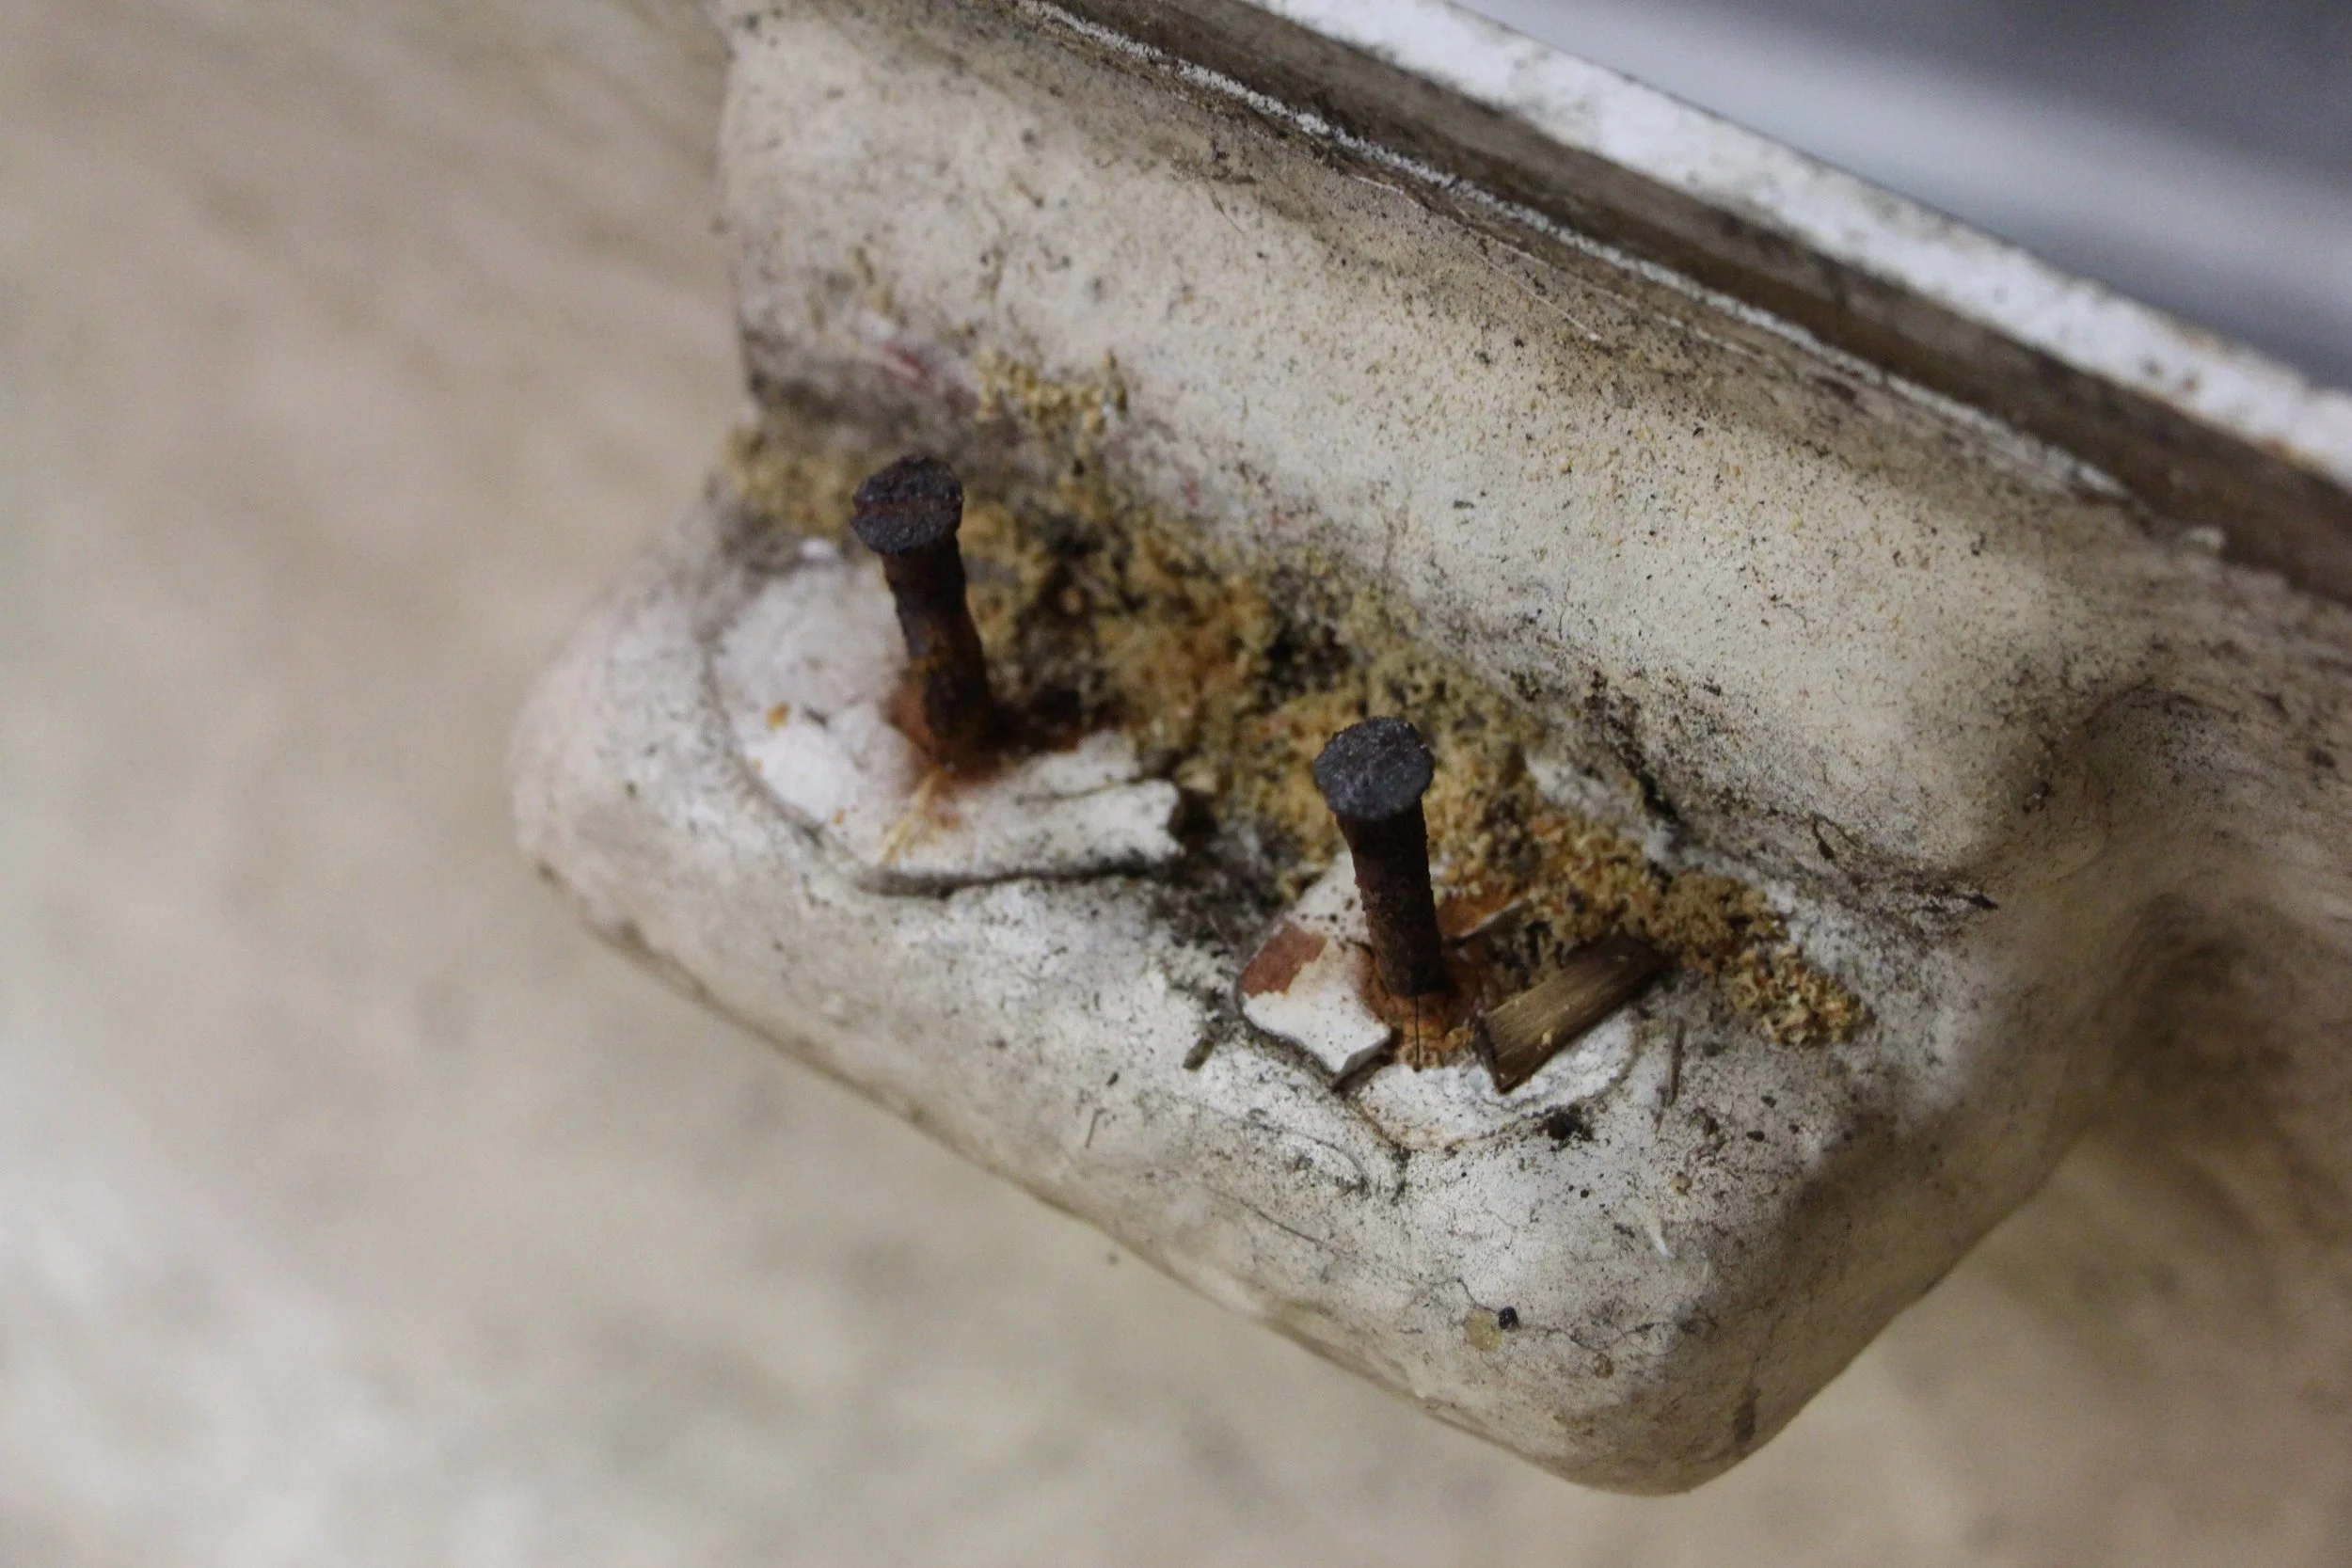
Once home safe and after careful inspection, the body of the Canoe was as stated, but had a fair few nicks and cracks from use and bottoming out over the years, a large crack was visible on the inside of the hull and fibreglass was required to fix this, the area was cleaned up and the fibreglass matting prepped and daubed into place, the fix was straight forward enough and it is solid! The real issue was going to be replacing the Gunwales and Inwales, I found a company in Cumbria that did Ash and Douglas Fir ones that suited what was needed so opted for the Ash just because I preferred the colour and grain, so work began stripping off all the rotten timber and removing all the rusted screws.
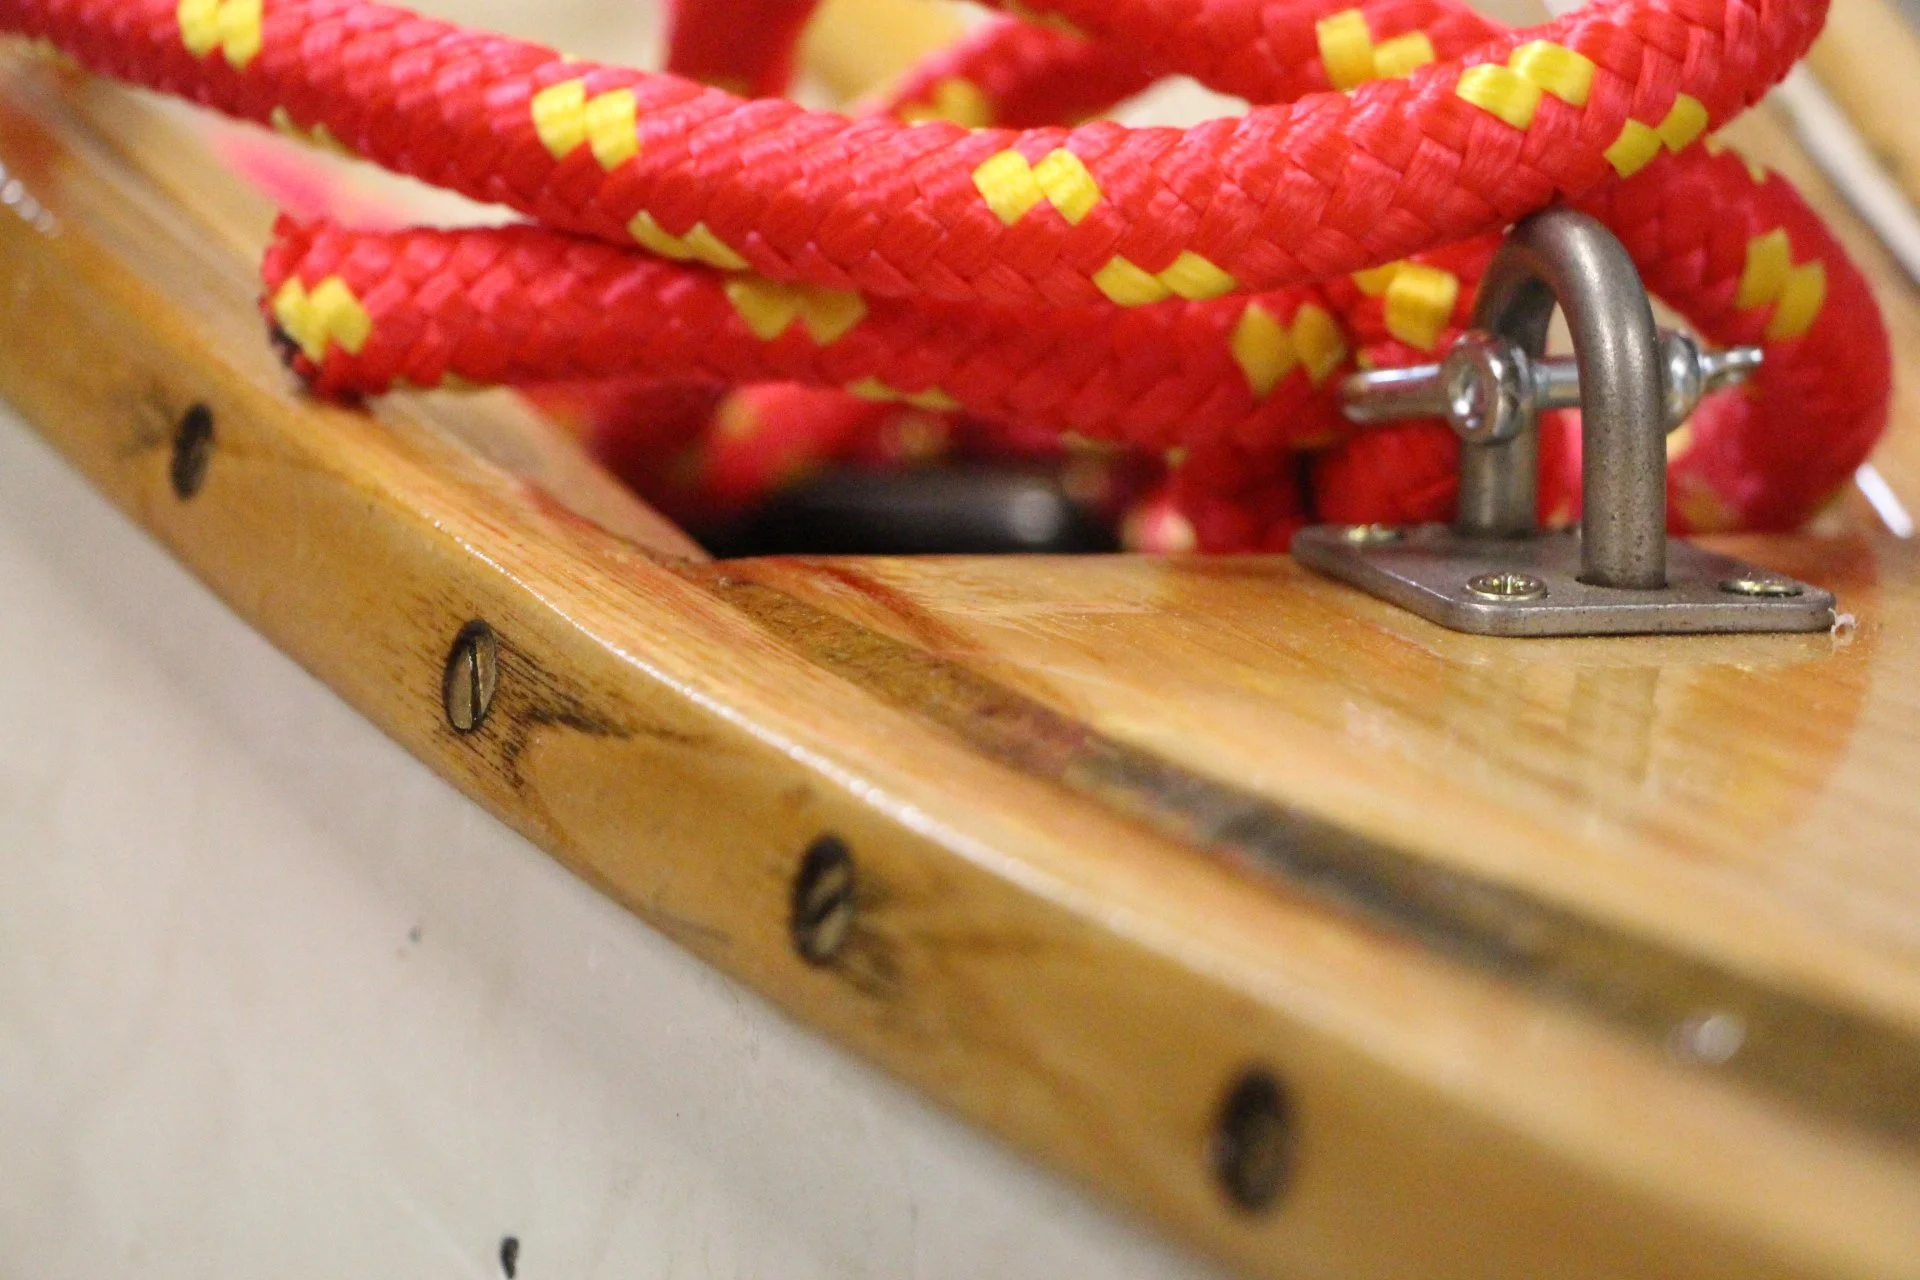
The Gunwales and Inwales came in three pieces, the length of this Canoe is almost 16ft, so we worked out how the gunwales and Inwales went together and glued with a waterproof PVA and left overnight. To look at you would not think that the timber would have the required strength to be able to bend them into shape to meet the contours of the hull of the Canoe, that test was next and it was a very hard task but once you get a few screws in the rest is relatively straight forward. To make things easier we copper greased each brass flat head screw and this did help but we did suffer some broken screws, there is a serious amount of tension in the gunwales and Inwales and we clamped in several places whilst screwing, we placed a screw at 20cm intervals and as we reached the bow and stern decreased these intervals dramatically to 5cms, the turn in the timber will require two people to lift to the angle needed and the tension will mount.
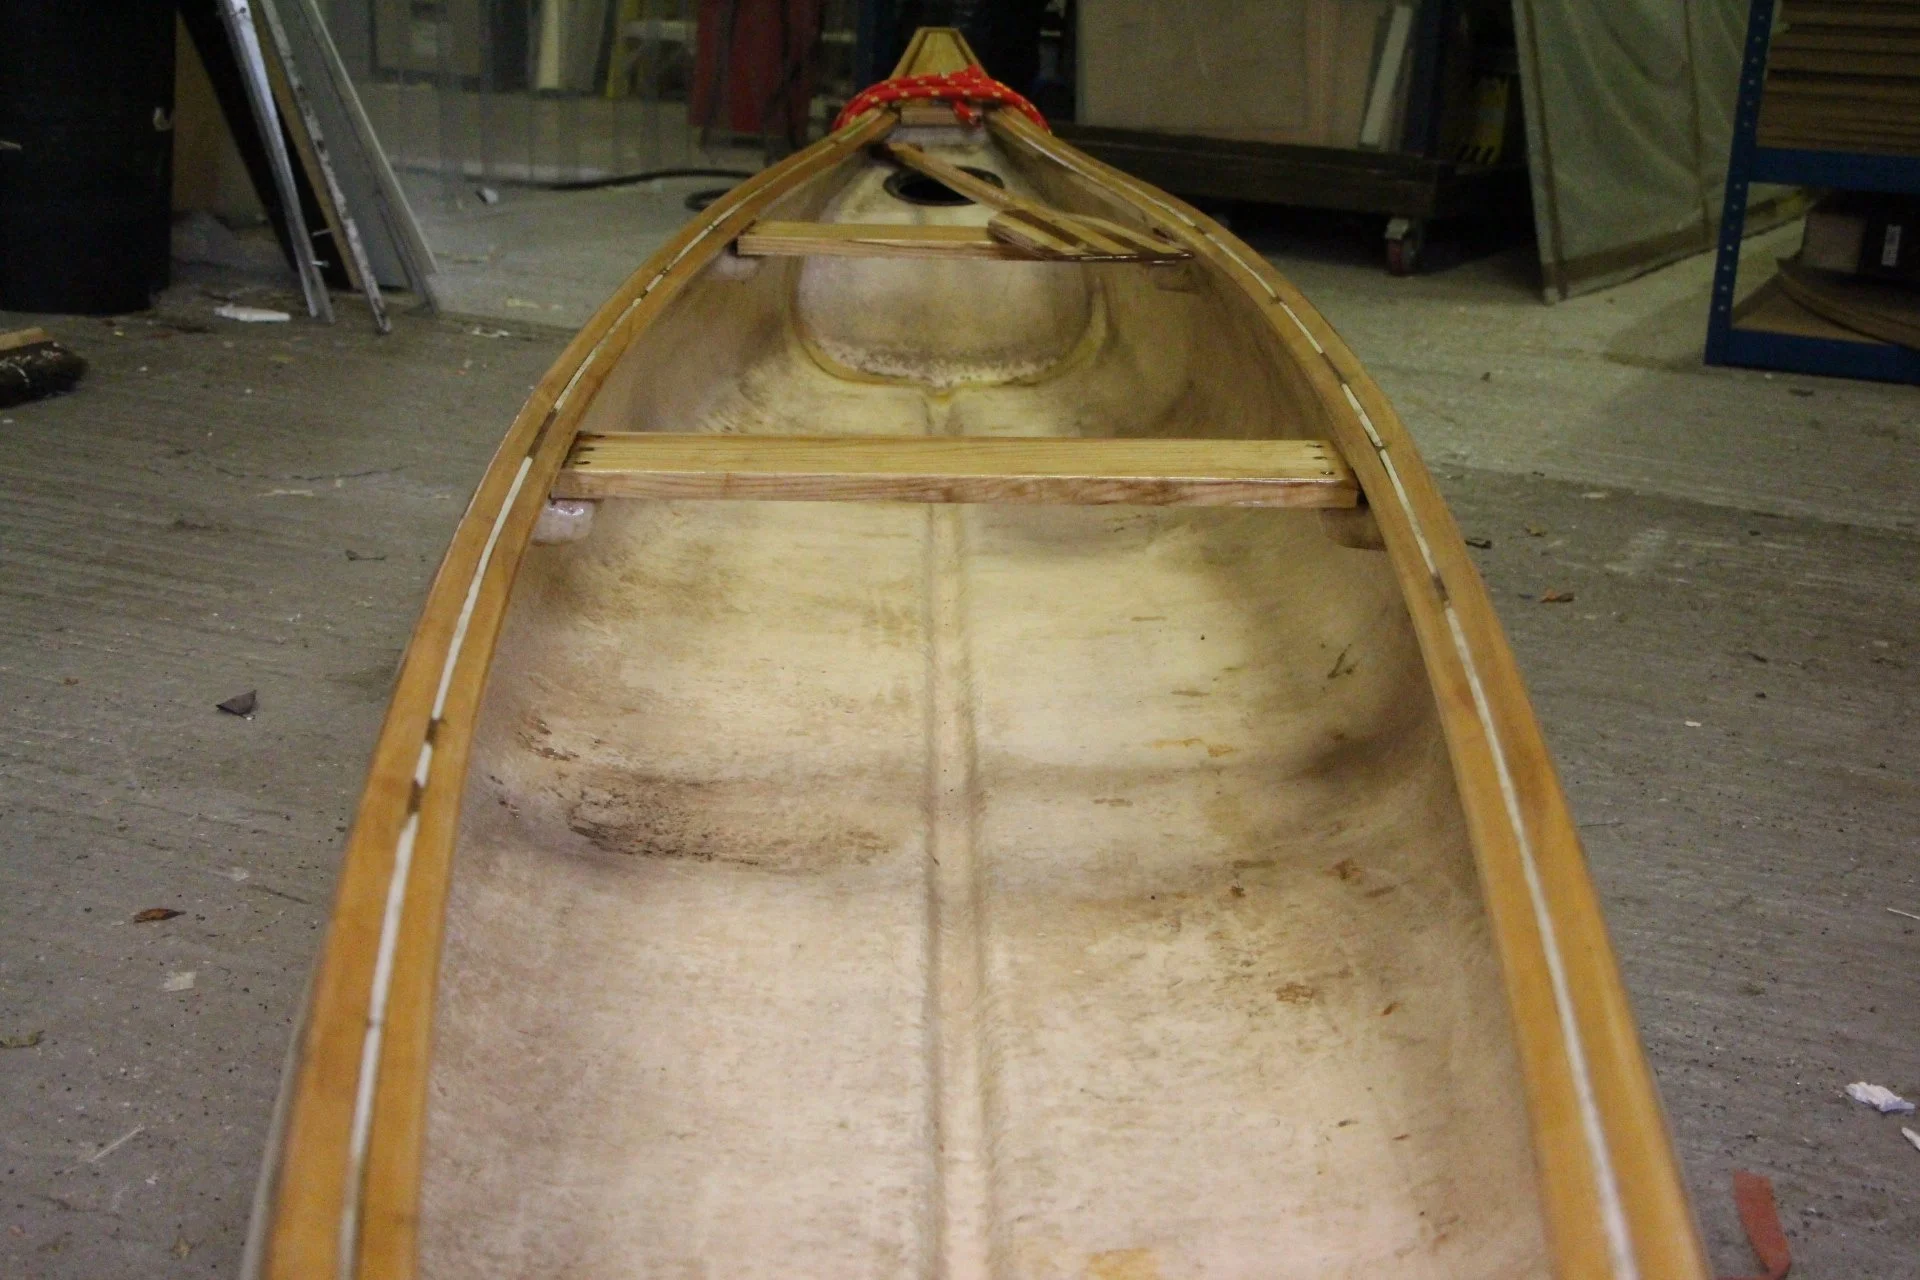
We managed to source a length of Ash and had the seats CNC cut to match our requirements, along with the decks, these slipped in easy enough, once being piloted screwed straight into the place of the previous seats, and this pulled the hull together and added strength, the edges of these were sanded round and have a nice smooth finish to them.
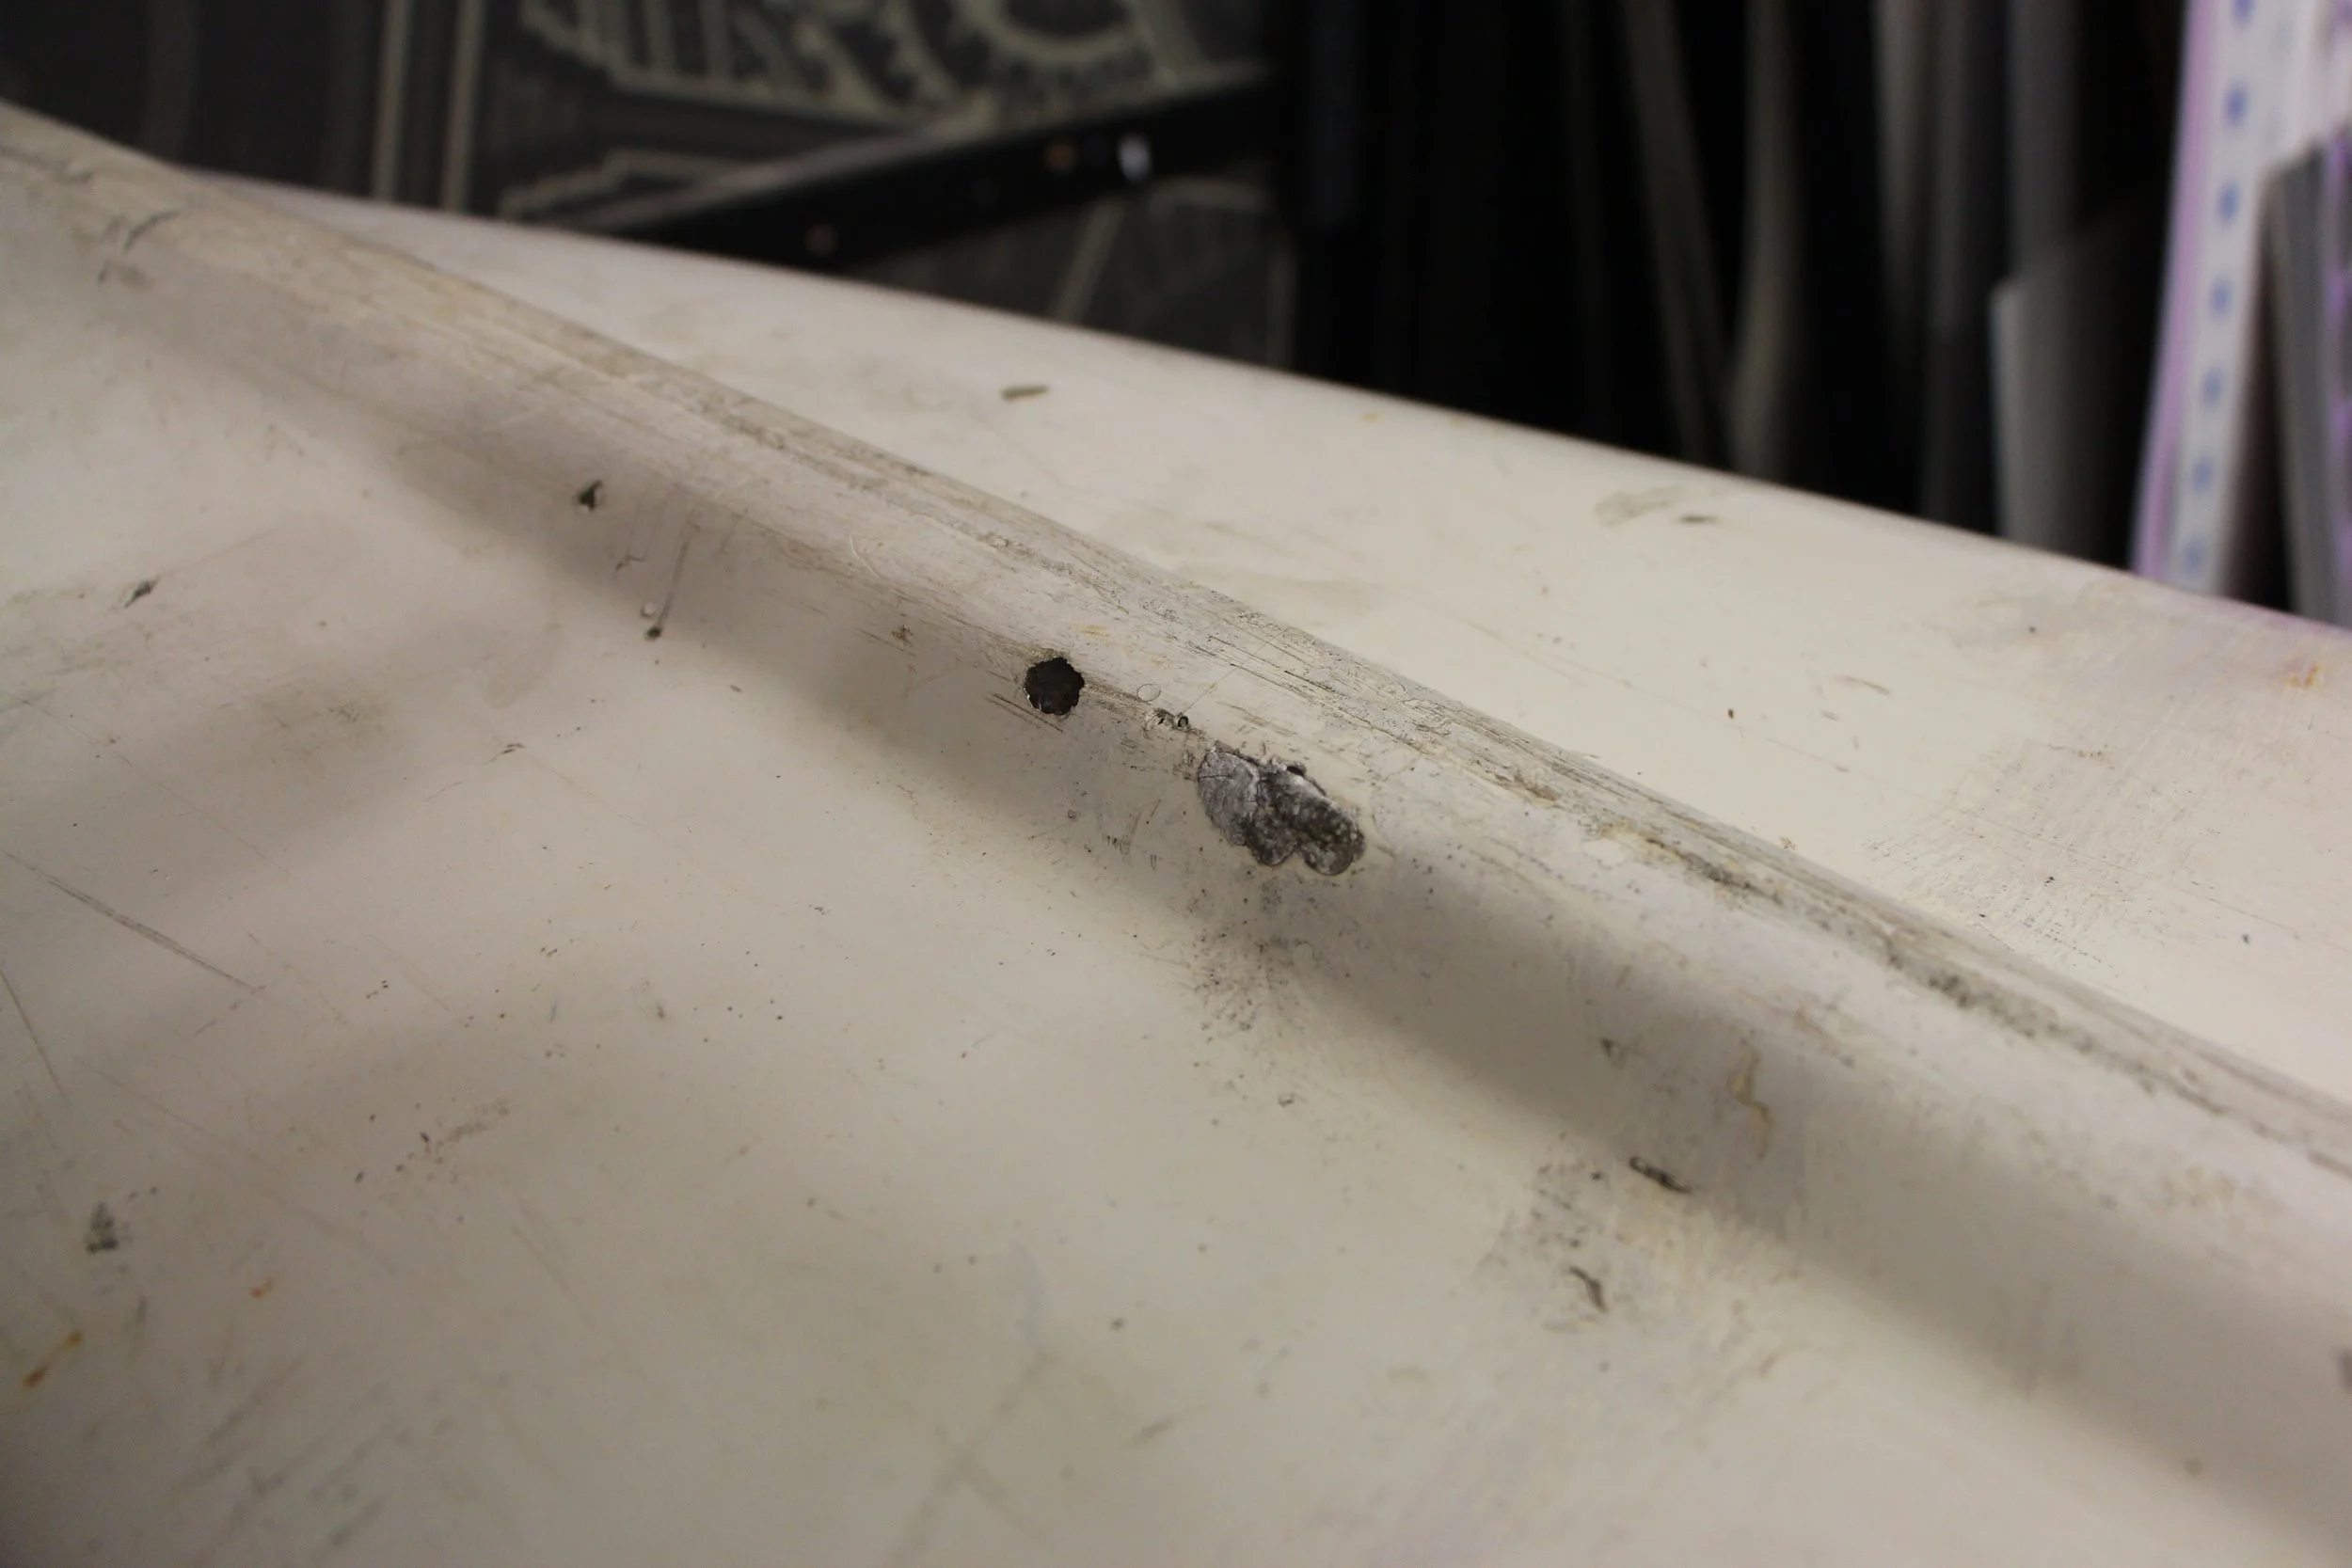
Once happy with the woodwork we flipped the Canoe and started to prep the hull which meant we had to clean out all the dinks and chips and remove any lose fibreglass, here we decided to use P-TEX which is probably not a traditional way to repair a hull but this is a very straightforward and simple procedure and opted for it on this occasion. The technique is used by Skiers and Snowboarders to repair their boards and ski’s and you simply light the end of the P-TEX candle and once it starts to melt, drip the liquid P-TEX into the cracks and holes, once set these will require a sand to bring to the level of the hull and should really do the job for the foreseeable. This is also an opportunity to repaint the hull, I personally don’t see the point as it will look good for all of five minutes, once the canoe is in the water it will ground, it will be dragged, it will hit debris, it will go over portage points and weirs and it seems an awful lot of effort to go to for nothing, its not going to be for show, it will be used!
The Canoe was flipped back over and the filling of the screw holes in gunwales commenced along with any other filling required between the gunwales and Inwales and the hull to bring to a nice even level all the way along the hull, a sander was used here with P80 grit paper to get rid of any rough spots, once I was happy with the feel and appearance of the gunwales and I began prepping the resin. The timber was prepped using a tack rag which removes any remaining sanding dust and debris, when it came to the resin and hardener I was fairly liberal with the amounts used I didn’t measure anything out and gave it a good glug of each roughly 2:1 and made sure it was mixed thoroughly, once brushed on the resin set within a few hours, I left it for a few days to make sure it was solid and went over again once I had sanded any nibs that I could feel or see.

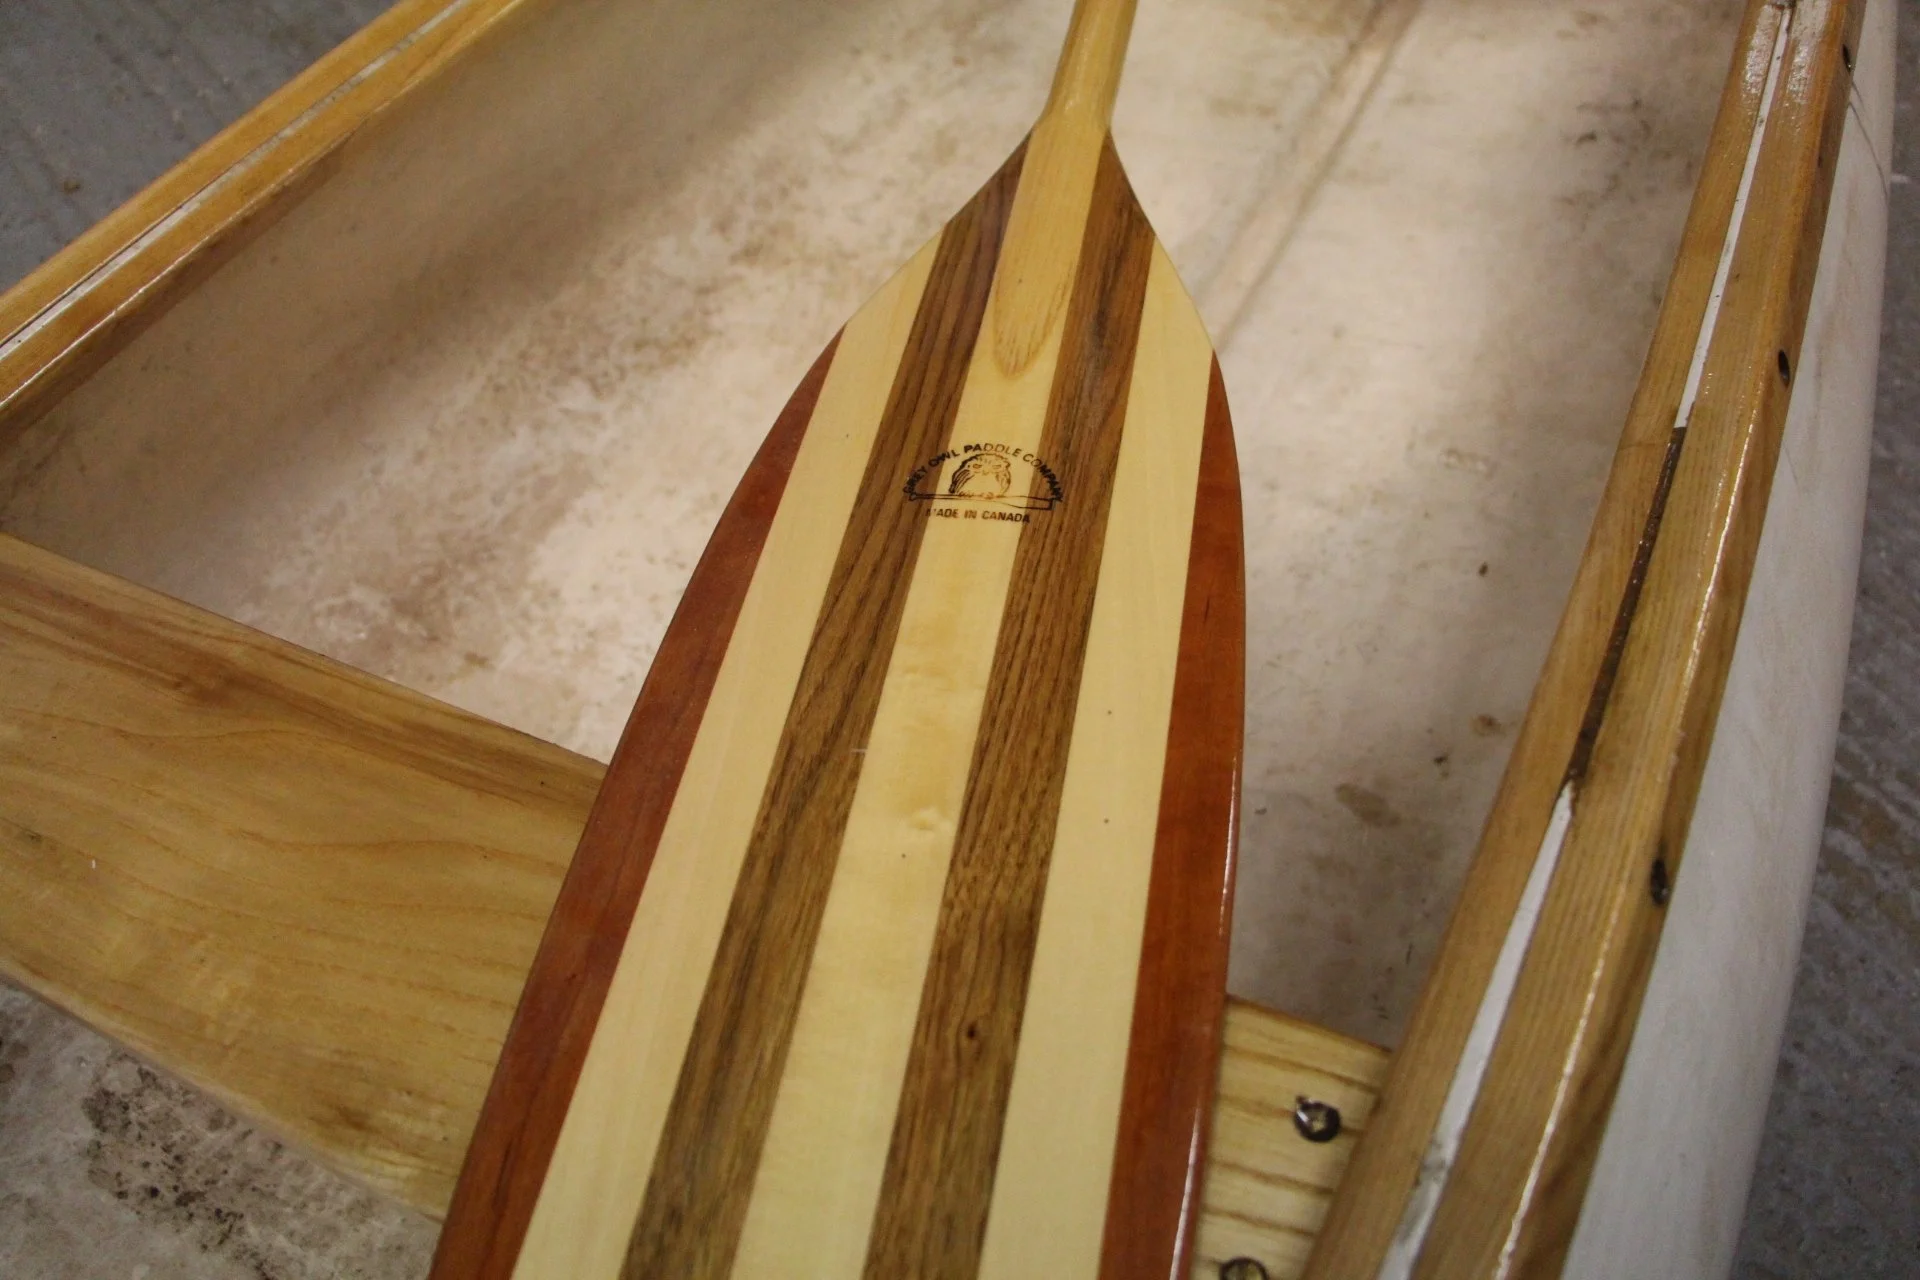
A Grey Owl Beavers tail paddle made from Cherry, Walnut & Basswood.
Overall I am very happy with the outcome considering I have never attempted this before, there are a couple of areas that could be improved, particularly on the decks, the gaps in the timber to the gunwales are larger than anticipated despite prior to fixing everything being snug, during fixing them the gaps opened so this has resulted in a bit more filler being used than liked but the finish of the canoe is very good! An old canoe that was destined for the skip has now got at least another decades worth of life in it, all in all it has cost me round £300/400 with materials. I am now raring to go and test it on the Stour!